Network Access
We need to make sure we have network access to our server even if we don't have a display.
Remote Terminal
SSH – or Secure Shell – allows us to connect to our server over our local network to run commands remotely.
This is very helpful for running an always-on server that doesn't have a display attached, often called a "headless" system. During the Debian install process, we opted to enable SSH by support.
When connecting to a new host, SSH will create a digital fingerprint for it. When we connect to this server in the future, it will compare the server's fingerprint to the one currently on file. In the event they don't match in the future, SSH will warn us that there is a mismatch and someone might be impersonating your server.
There are many different ways to connect to your server using SSH. We will highlight some common methods for connecting to our server and controlling it remotely.
Linux
You can use the terminal available on most Distributions of Linux – such as Debian, Ubuntu, and Linux Mint – to remotely connect to your server.
You will need to know your username set during the installation process and the IP Address you set during network configuration.
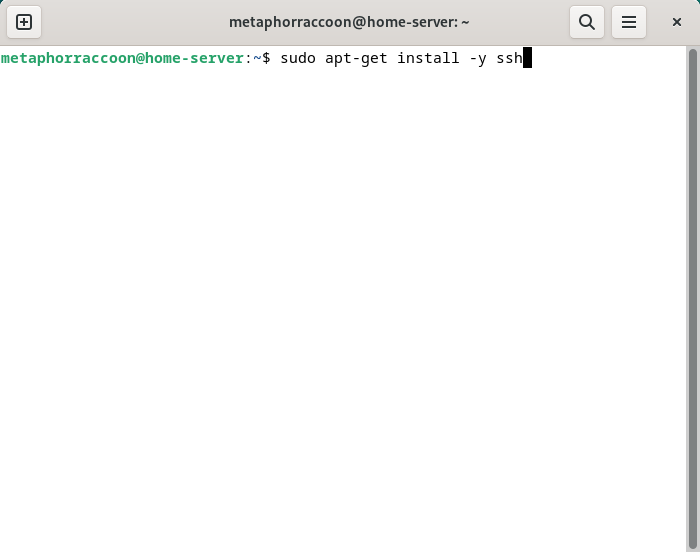
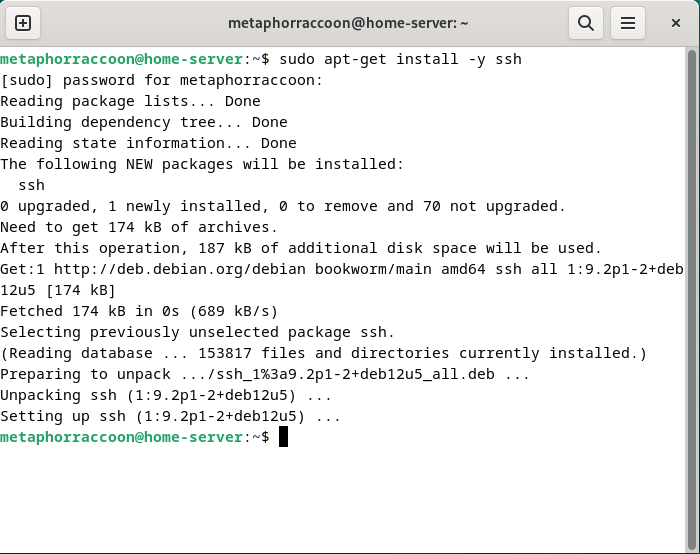
You can open a terminal and ensure that SSH is installed by running the command:
sudo apt-get install -y ssh|
|
|
Once we are sure this is installed, we can run connect to our server through the terminal using the ssh command. We will be connecting to our user account what is at our server's IP address:
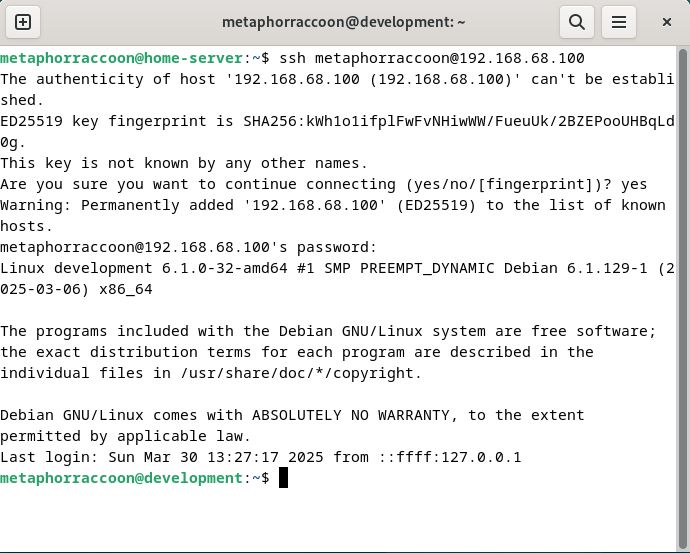
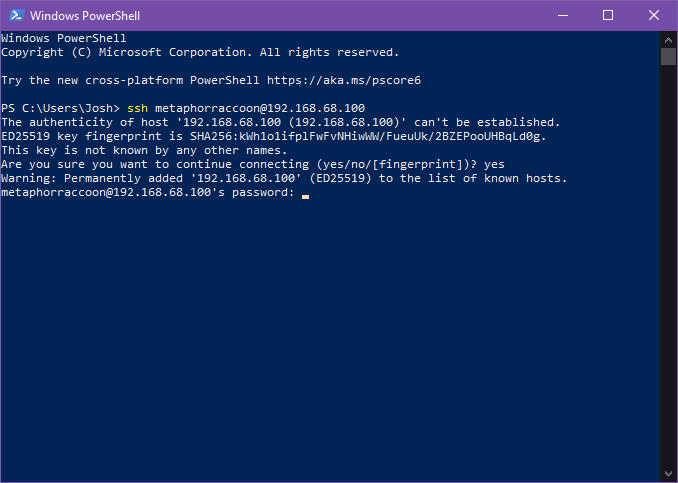
ssh username@192.168.68.100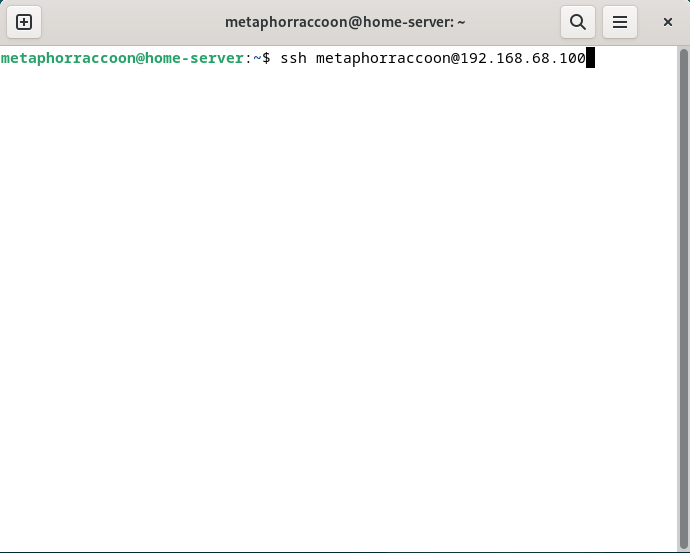
You will be alerted that the authenticity of the host server could not be verified. This happens because we have never connected to the server before and it can't ensure the server's fingerprint.
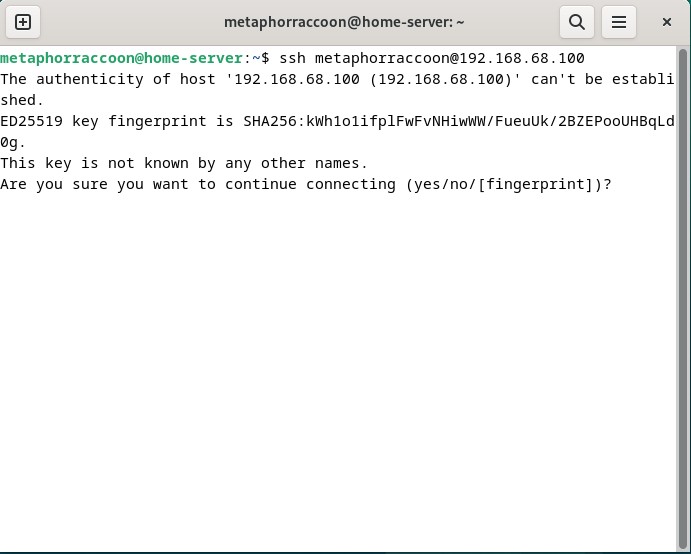
We can type 'yes' then hit 'enter' to accept the newly generated host fingerprint and remember it for future use.
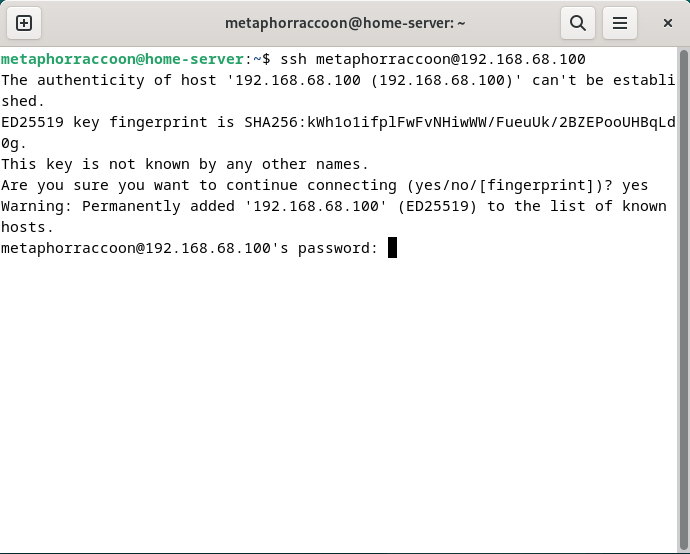
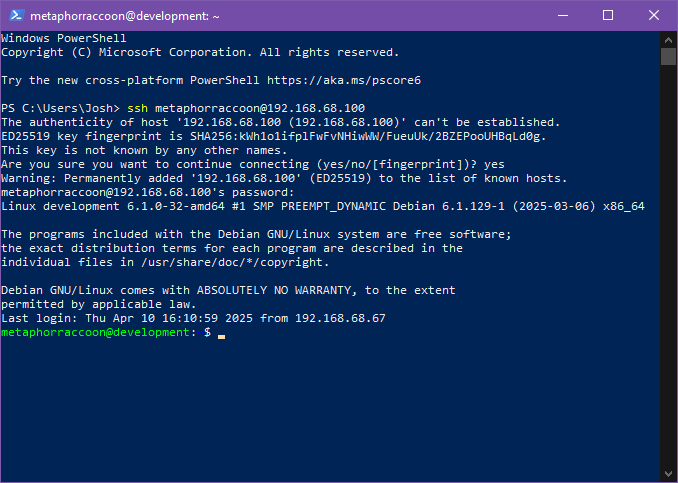
Now, you will be prompted for your password. After hitting 'enter', you will be connected to your server and can run commands.
You can disconnect from the SSH connection with the following command:
exitWindows
Windows 10 and Windows 11 come with a client pre-installed so you can use SSH to connect to your server remotely.
You will need to know your username set during the installation process and the IP Address you set during network configuration.
You can open a terminal or PowerShell and run the following command:
ssh username@192.168.68.100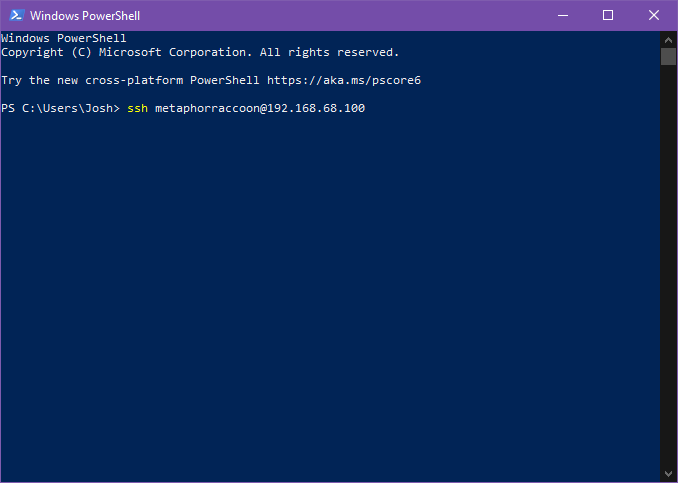
You will be alerted that the authenticity of the host server could not be verified. This happens because we have never connected to the server before and it can't ensure the server's fingerprint.
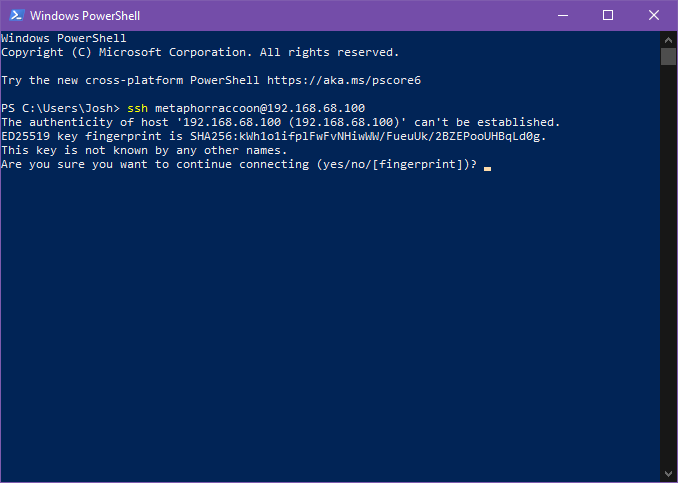
We can type 'yes' then hit 'enter' to accept the newly generated host fingerprint and remember it for future use.
Now, you will be prompted for your password. After hitting 'enter', you will be connected to your server and can run commands.
You can disconnect from the SSH connection with the following command:
exitMacOS
MacOS, and the legacy OS X, come with SSH already installed so you can remotely connect to your server.
You will need to know your username set during the installation process and the IP Address you set during network configuration.
We can connect to our server through the terminal using the ssh command. We will be connecting to our user account what is at our server's IP address:
ssh username@192.168.68.100You will be alerted that the authenticity of the host server could not be verified. This happens because we have never connected to the server before and it can't ensure the server's fingerprint.
We can type 'yes' then hit 'enter' to accept the newly generated host fingerprint and remember it for future use.
Now, you will be prompted for your password. After hitting 'enter', you will be connected to your server and can run commands.
You can disconnect from the SSH connection with the following command:
exitAndroid & iOS
There are apps available through the Google Play Store and Apple App Store that allow you to remotely connect to your server using SSH.
We recommend Termius, a freeware application for Android 7 and iOS 16 or newer. You can create a profile for your server with the credentials pre-saved for quick connection. As a premium paid feature, you can also sync these hosts between the mobile and desktop clients.
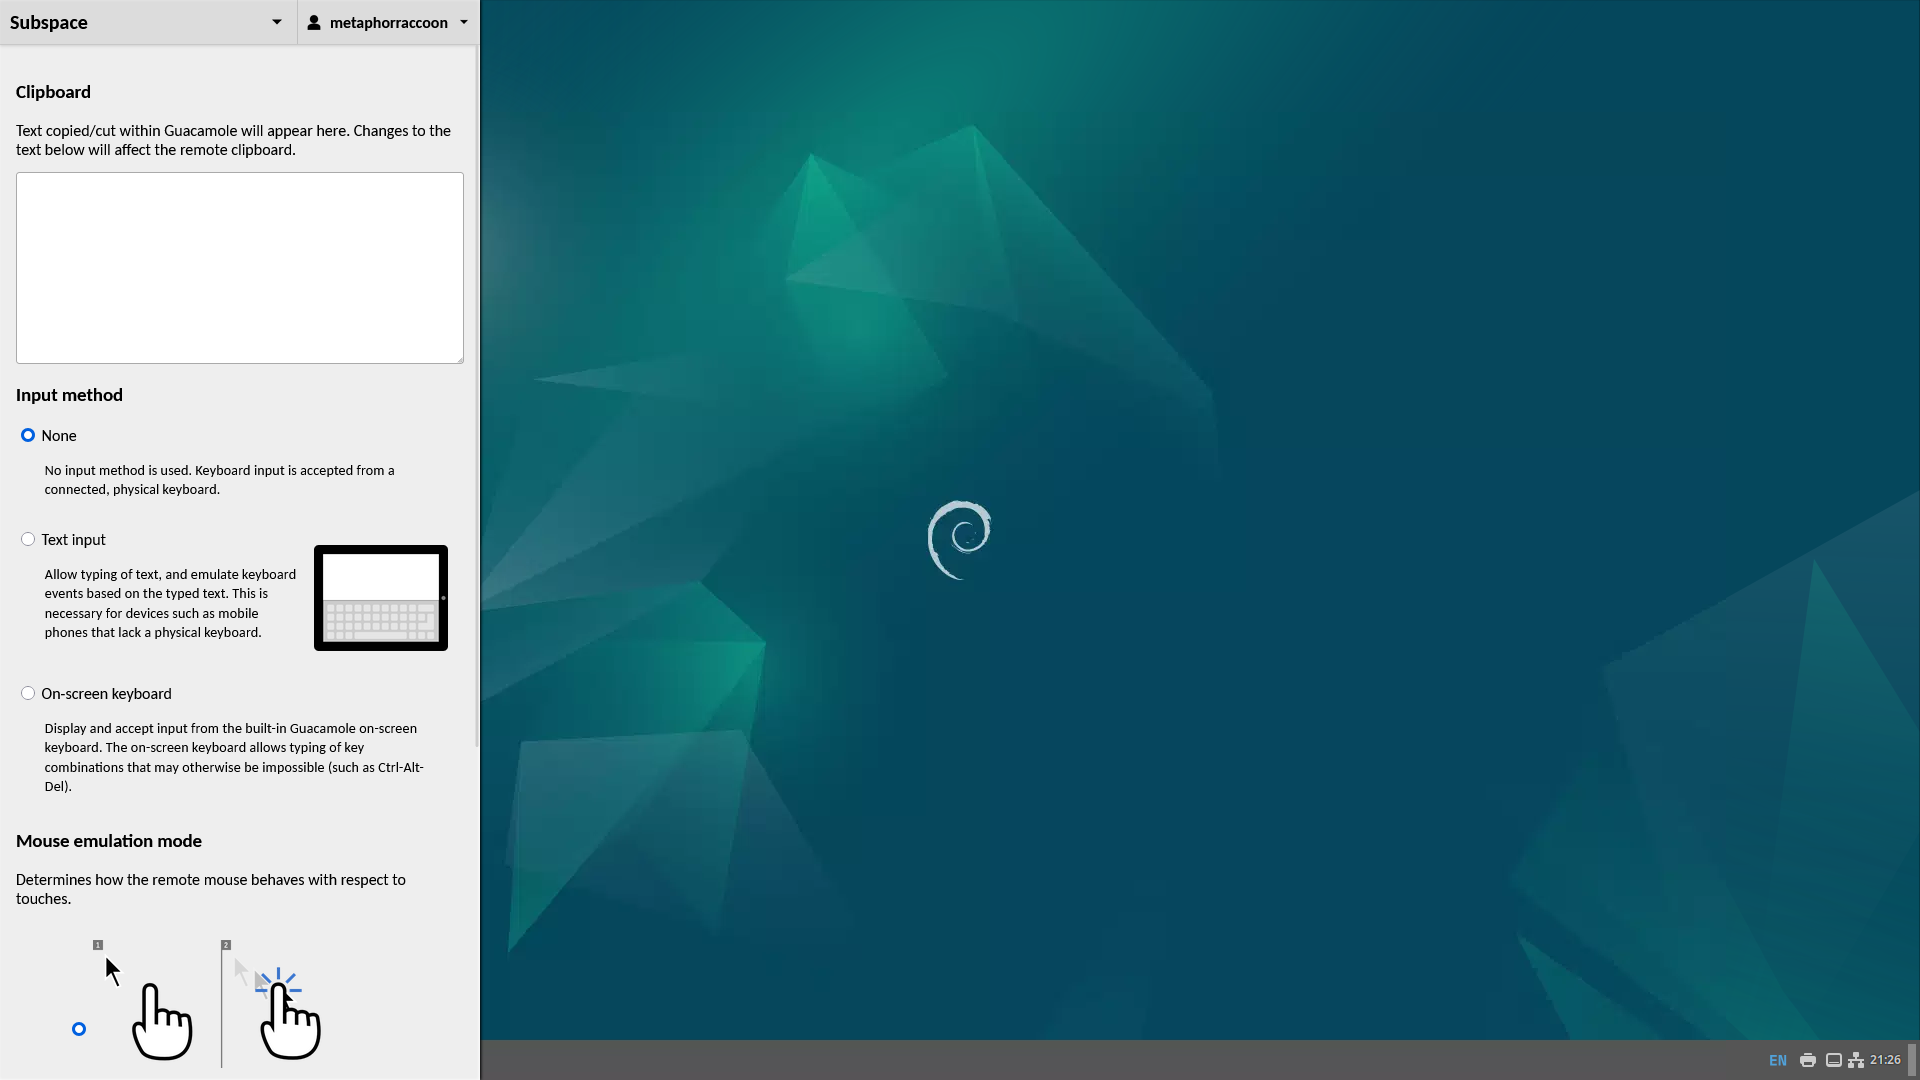
Web Access
SSH is a great option for connecting to your server over your local network, but is not available through the world wide web. The easiest way to accomplish this is to use our home server to host Guacamole, a web application that facilitates remote connection to RDP, VNC and SSH through your web browser.
Remote Desktop
We will be installing xrdp, a service that allows us to remotely access our computer over the local network. This is an open-source implementation of Microsoft's Remote Desktop Protocol and will work with any software that supports RDP.
Installing Remote Desktop
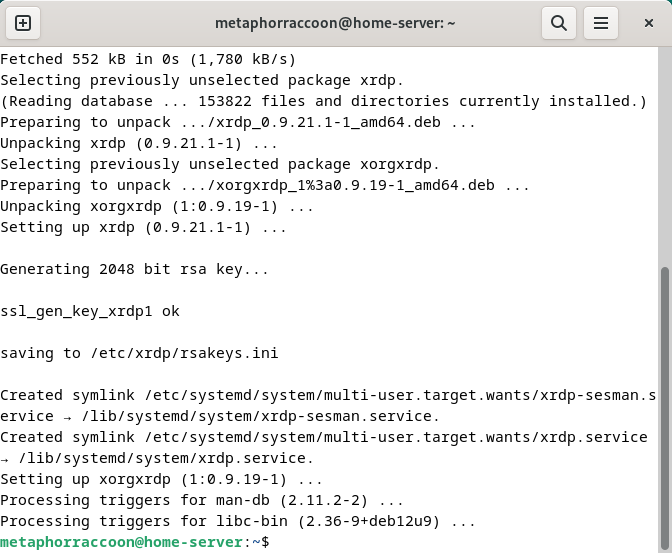
Run this command in a terminal to install it:
sudo apt-get install -y xrdp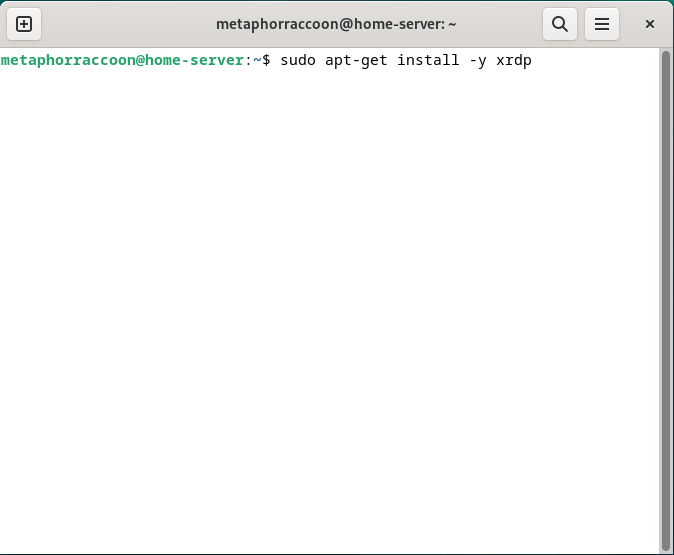 |
|
Once installed, we can verify that the service is running with the command:
sudo systemctl status xrdp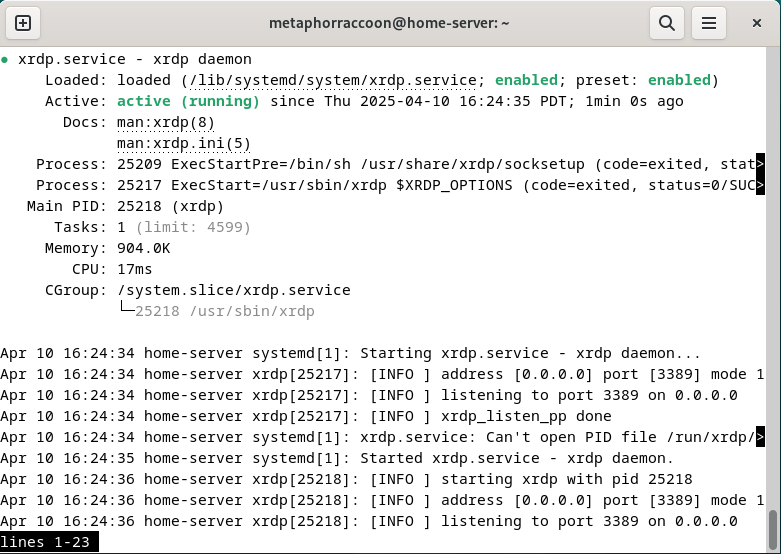
Accessing Remote Desktop
xrdp is an open-source implementation of the Microsoft Windows RDP protocol that is widely supported by most operating systems. Here, we can explore some of the ways to remotely access your server desktop for maintenance.
You cannot remote desktop into your account while you are logged in locally through the desktop.
Linux
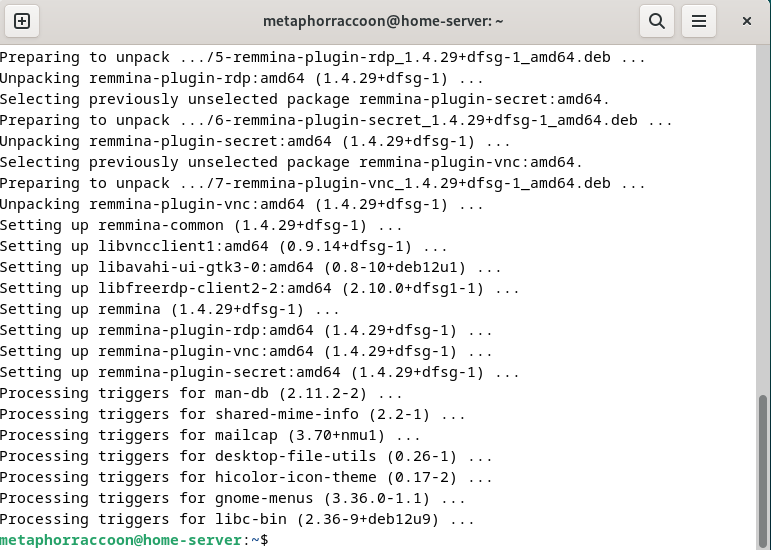
We will be installing Remmina, an open-source client for accessing computers over the network using protocols like RDP, SSH, and VNC. We will need to open the terminal and run the following commands to install the software.
sudo apt update
sudo apt-get install -y remmina remmina-plugin-rdp remmina-plugin-vnc |
 |
 |
Once we have finished installing the software, we can open it from the start menu.
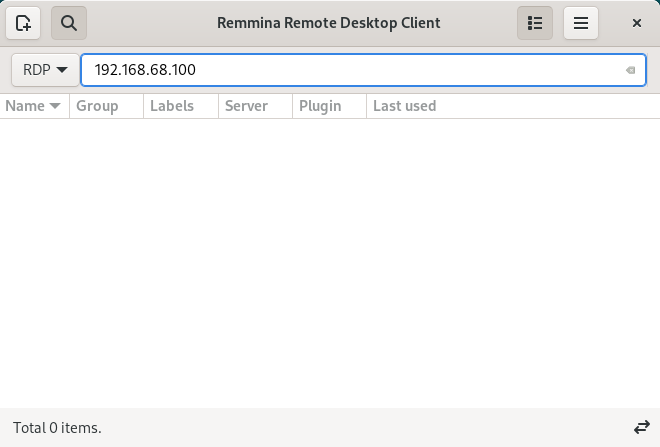
You can connect to your server by entering the IP address into the bar. Make sure to use the RDP protocol.

Windows
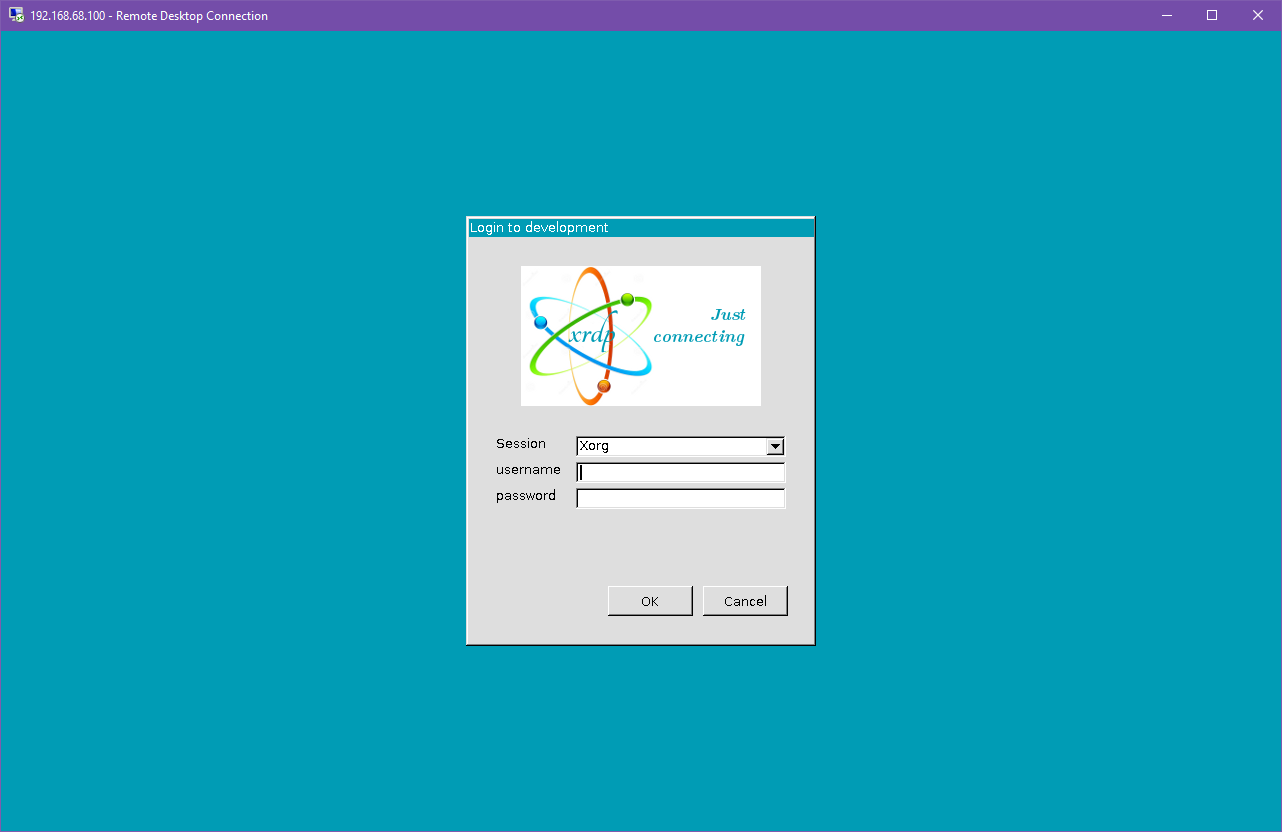
Most versions of Windows come with the Remote Desktop Connection program installed that can be used to connect to your server. You will need to enter the IP address of your server on the local network.
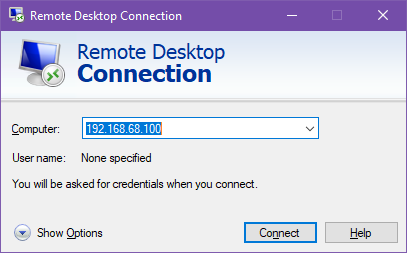
Once connected, you can enter your username and password to connect to the desktop.
 |
 |
MacOS
Android & iOS
Web Access
File Sharing
We will be installing Samba, a protocol that allows us to share your files over the local network. This is open-source implementation of Microsoft's SMB protocol.
Installation
We can install it by entering the following command:
sudo apt-get install -y samba samba-common-bin smbclientNow that Samba is installed, we can ensure it's running by using the following command:
sudo systemctl status sambaNow that we know it's installed and running, we can set up our storage drives for sharing.
Setting Up Shares
Before we make any changes to the Samba configuration, we should back up the default. We can do this by copying the file to a backup:
sudo cp /etc/samba/smb.conf /etc/samba/smb.conf.backupNow, we will use a terminal-based text editor known as nano. We will edit the Samba configuration file that was just backed up:
sudo nano /etc/samba/smb.confSamba comes with default sharing options, but we are going to modifying the configuration file to include the hard drives we mounted earlier. Using the arrows keys, navigate to the very bottom of the file.
For our Storage drive, we will be sharing it across our local network so anyone with the password can access the files on it.
[Storage]
   path = /mnt/storage
   writable = yes
   guest ok = no
   valid users = @sambashare
Once we've made our edits, we can hit Ctrl-O to save, then enter to confirm the file name, and finally Ctrl-X to class the nano editor.
Create a Samba User
Next, we will provide our user account with access to the Samba share we just made.
Change 'username' to your account's username.
sudo adduser username sambashareNext, we will need to set the password we'll use to access our files.
Change 'username' to your account's username.
sudo smbpasswd -a usernameYou will be prompted to enter and confirm your password. If you wish, this can be the same as your account password.
Once that is completed, we can restart the Samba service using the following command:
sudo systemctl restart smbdNow, we can verify that our Samba share are working by verifying the output of the following command:
smbclient -L localhost -U %This program lists all available Samba shares on the local computer.