You will need to know your [username set during the installation process](https://hub.subspace.services/books/software/chapter/installing-an-operating-system "Installing an Operating System") and the IP Address you set during [network configuration](https://hub.subspace.services/books/software/page/networking "Static Network IP").
You can open a terminal and ensure that SSH is installed by running the command: ```bash sudo apt-get install -y ssh ```| [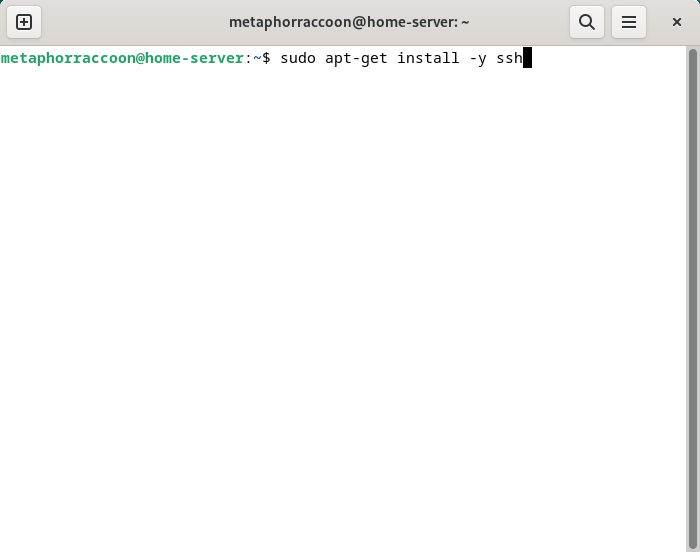](https://hub.subspace.services/uploads/images/gallery/2025-04/lWFimage.png) | [](https://hub.subspace.services/uploads/images/gallery/2025-04/RYmimage.png) |
You will need to know your [username set during the installation process](https://hub.subspace.services/books/software/chapter/installing-an-operating-system "Installing an Operating System") and the IP Address you set during [network configuration](https://hub.subspace.services/books/software/page/networking "Static Network IP").
You can open a terminal or PowerShell and run the following command: ```bash ssh username@192.168.68.100 ``` [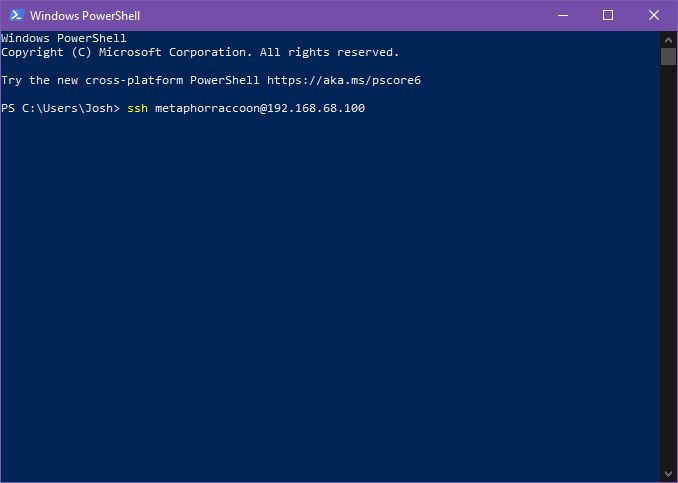](https://hub.subspace.services/uploads/images/gallery/2025-04/8dEimage.png) You will be alerted that the authenticity of the host server could not be verified. This happens because we have never connected to the server before and it can't ensure the server's fingerprint. [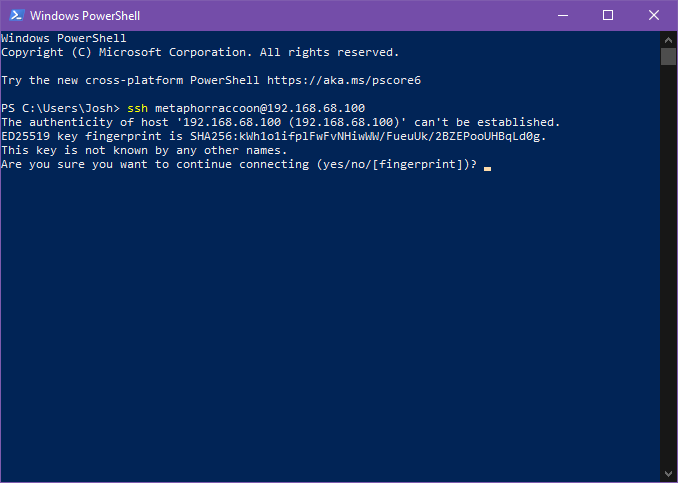](https://hub.subspace.services/uploads/images/gallery/2025-04/2MNimage.png) We can type 'yes' then hit 'enter' to accept the newly generated host fingerprint and remember it for future use. [](https://hub.subspace.services/uploads/images/gallery/2025-04/jnEimage.png) Now, you will be prompted for your password. After hitting 'enter', you will be connected to your server and can run commands. [](https://hub.subspace.services/uploads/images/gallery/2025-04/518image.png) You can disconnect from the SSH connection with the following command: ```bash exit ``` ## MacOS MacOS, and the legacy OS X, come with SSH already installed so you can remotely connect to your server.You will need to know your [username set during the installation process](https://hub.subspace.services/books/software/chapter/installing-an-operating-system "Installing an Operating System") and the IP Address you set during [network configuration](https://hub.subspace.services/books/software/page/networking "Static Network IP").
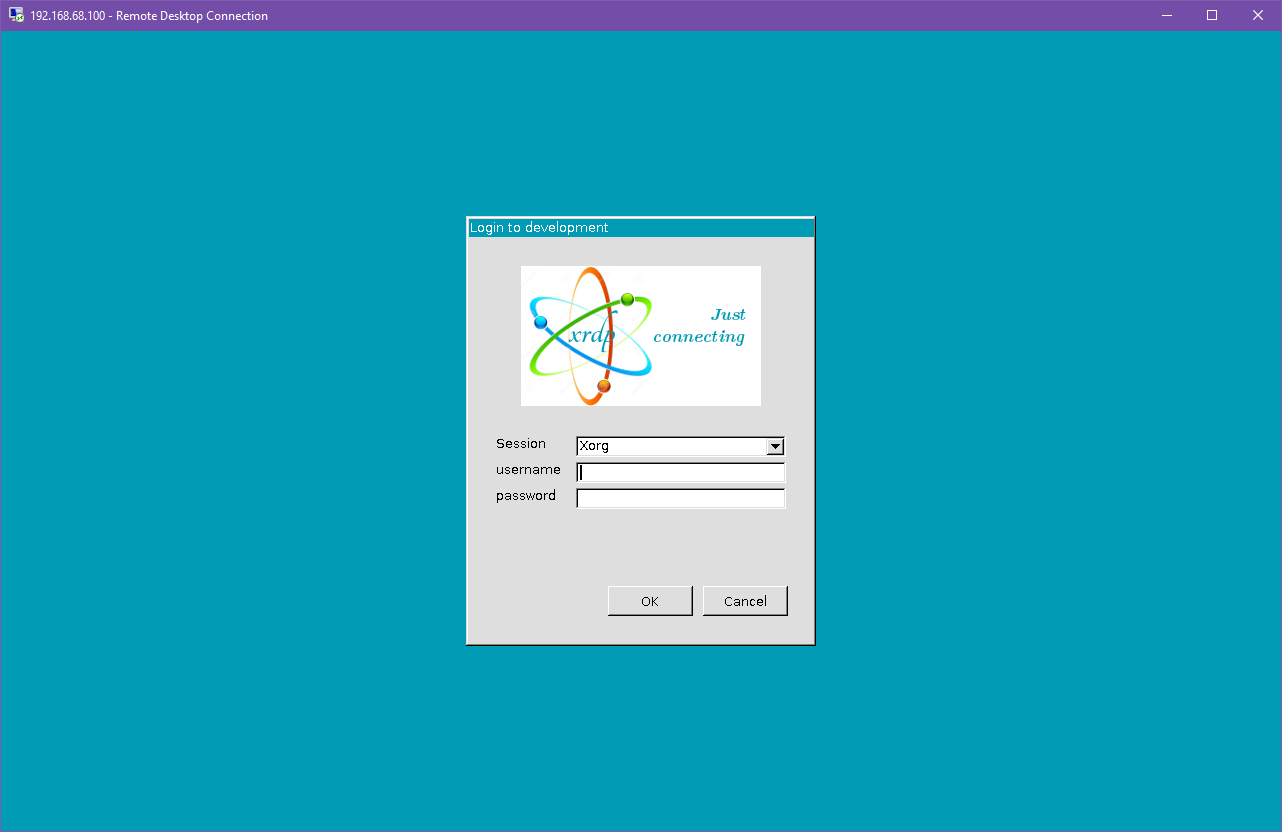
We can connect to our server through the terminal using the *ssh* command. We will be connecting to our user account what is at our server's IP address: ```bash ssh username@192.168.68.100 ``` You will be alerted that the authenticity of the host server could not be verified. This happens because we have never connected to the server before and it can't ensure the server's fingerprint. We can type 'yes' then hit 'enter' to accept the newly generated host fingerprint and remember it for future use. Now, you will be prompted for your password. After hitting 'enter', you will be connected to your server and can run commands. You can disconnect from the SSH connection with the following command: ```bash exit ``` ## Android & iOS There are apps available through the Google Play Store and Apple App Store that allow you to remotely connect to your server using SSH. We recommend [Termius](https://termius.com/), a freeware application for Android 7 and iOS 16 or newer. You can create a profile for your server with the credentials pre-saved for quick connection. As a premium paid feature, you can also sync these hosts between the mobile and desktop clients. [](https://hub.subspace.services/uploads/images/gallery/2025-02/1000006219.png) ## Web Access SSH is a great option for connecting to your server over your local network, but is not available through the world wide web. The easiest way to accomplish this is to use our home server to host [Guacamole](https://hub.subspace.services/books/administration-monitoring/chapter/guacamole "Guacamole"), a web application that facilitates remote connection to RDP, VNC and SSH through your web browser. [](https://hub.subspace.services/uploads/images/gallery/2025-03/screen-shot-2025-03-09-at-21-24-24.png) # Remote Desktop We will be installing [xrdp](https://en.wikipedia.org/wiki/Xrdp), a service that allows us to remotely access our computer over the local network. This is an open-source implementation of Microsoft's [Remote Desktop Protocol](https://en.wikipedia.org/wiki/Remote_Desktop_Protocol) and will work with any software that supports RDP. ## Installing Remote Desktop Run this command in a terminal to install it: ``` sudo apt-get install -y xrdp ```| [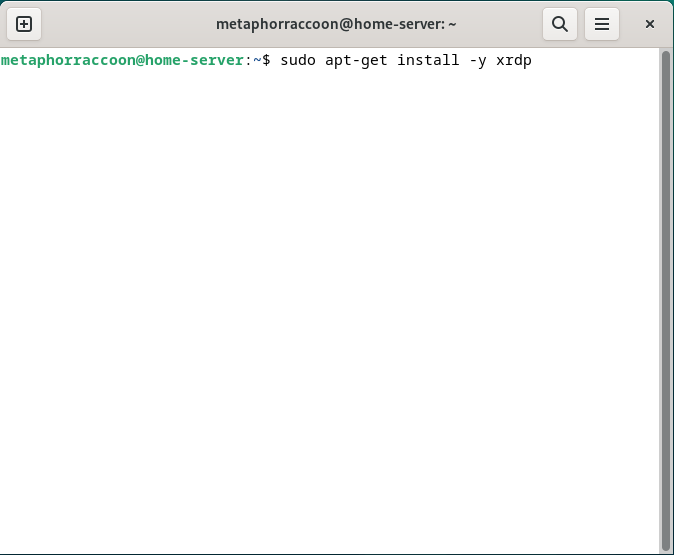](https://hub.subspace.services/uploads/images/gallery/2025-04/Mxcimage.png) | [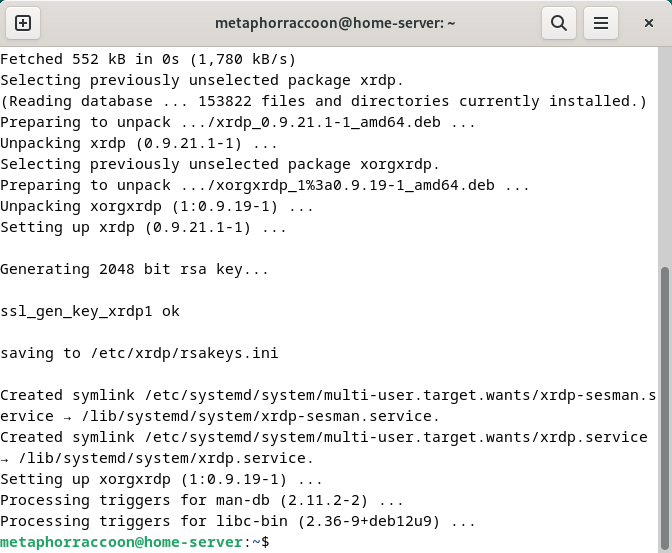](https://hub.subspace.services/uploads/images/gallery/2025-04/iJ2image.png) |
You cannot remote desktop into your account while you are logged in locally through the desktop.
### Linux We will be installing [Remmina](https://en.wikipedia.org/wiki/Remmina), an open-source client for accessing computers over the network using protocols like RDP, SSH, and VNC. We will need to open the terminal and run the following commands to install the software. ``` sudo apt update sudo apt-get install -y remmina remmina-plugin-rdp remmina-plugin-vnc ```| [](https://hub.subspace.services/uploads/images/gallery/2025-04/vTqimage.png) | [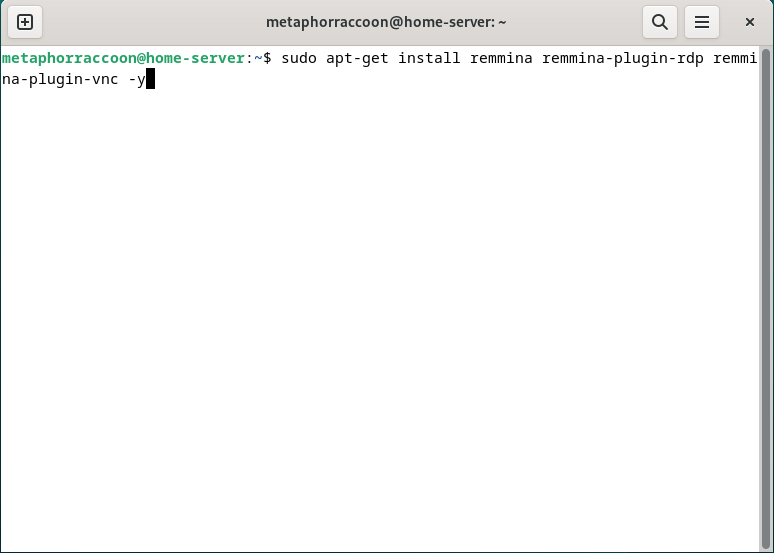](https://hub.subspace.services/uploads/images/gallery/2025-04/lKcimage.png) | [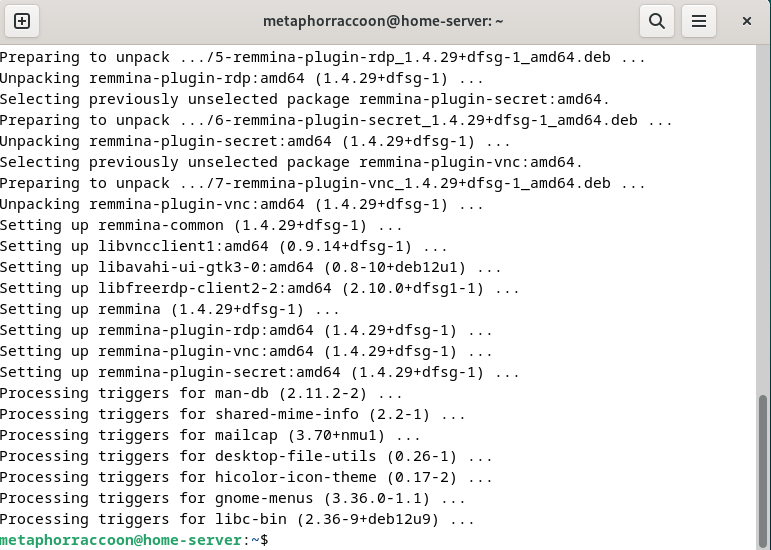](https://hub.subspace.services/uploads/images/gallery/2025-04/7Gpimage.png) |
| [](https://hub.subspace.services/uploads/images/gallery/2025-04/oc2image.png) | [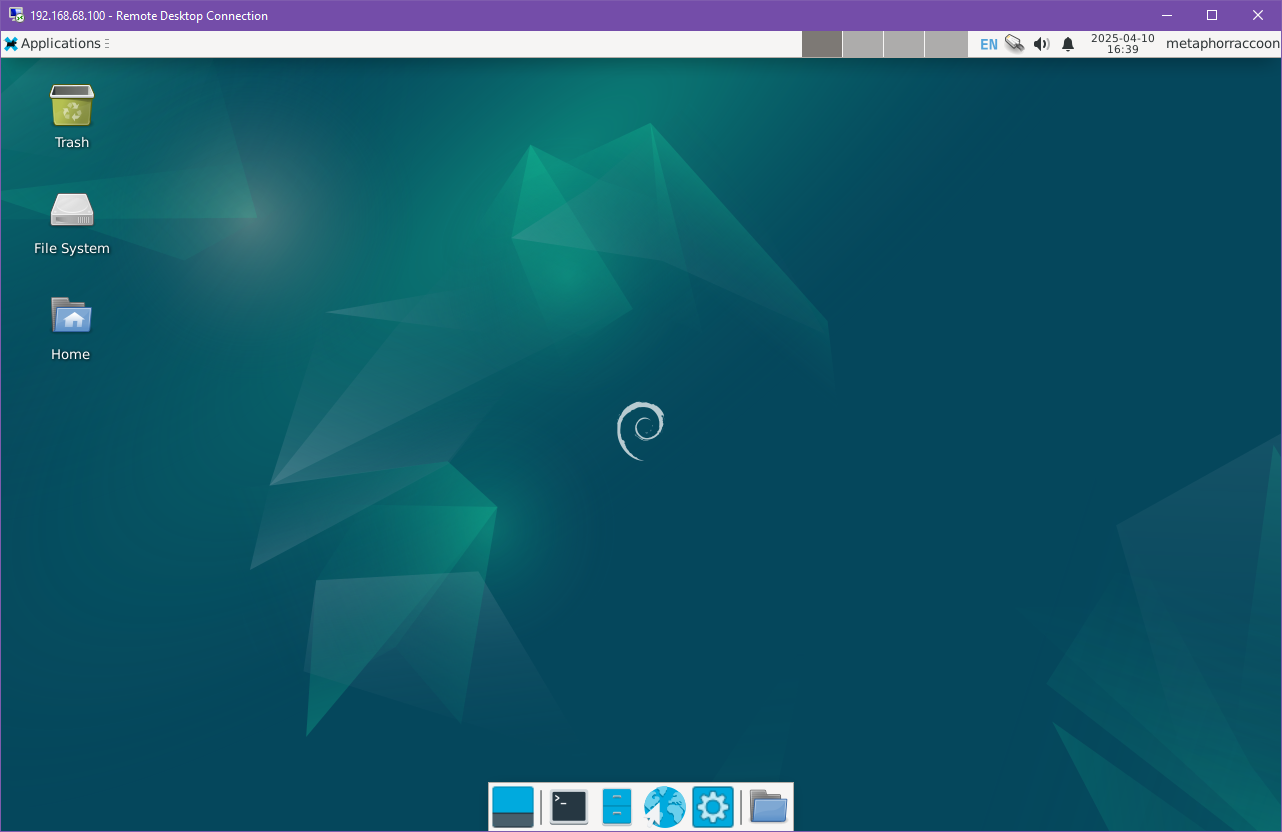](https://hub.subspace.services/uploads/images/gallery/2025-04/LmWimage.png) |
Change 'username' to your account's username.
```bash sudo adduser username sambashare ``` Next, we will need to set the password we'll use to access our files.Change 'username' to your account's username.
```bash sudo smbpasswd -a username ``` You will be prompted to enter and confirm your password. If you wish, this can be the same as your account password. Once that is completed, we can restart the Samba service using the following command: ```bash sudo systemctl restart smbd ``` Now, we can verify that our Samba share are working by verifying the output of the following command: ```sh smbclient -L localhost -U % ``` This program lists all available Samba shares on the local computer.