You will need to know your [username set during the installation process](https://hub.subspace.services/books/software/chapter/installing-an-operating-system "Installing an Operating System") and the IP Address you set during [network configuration](https://hub.subspace.services/books/software/page/networking "Static Network IP").
You can open a terminal and ensure that SSH is installed by running the command: ```bash sudo apt-get install -y ssh ```| [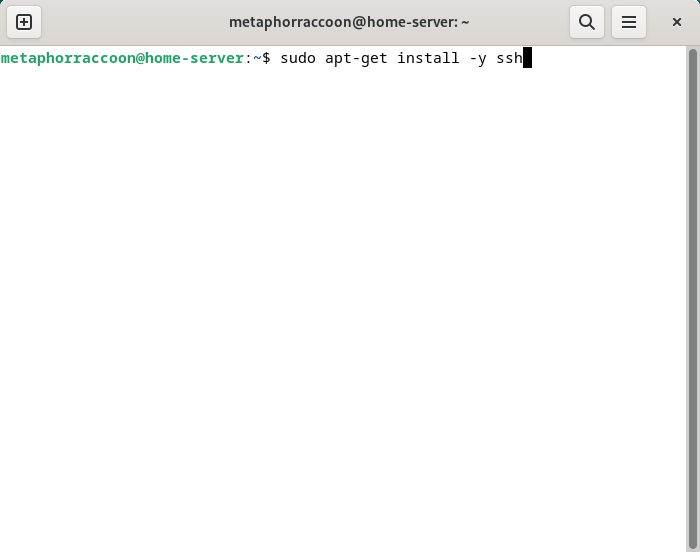](https://hub.subspace.services/uploads/images/gallery/2025-04/lWFimage.png) | [](https://hub.subspace.services/uploads/images/gallery/2025-04/RYmimage.png) |
You will need to know your [username set during the installation process](https://hub.subspace.services/books/software/chapter/installing-an-operating-system "Installing an Operating System") and the IP Address you set during [network configuration](https://hub.subspace.services/books/software/page/networking "Static Network IP").
You can open a terminal or PowerShell and run the following command: ```bash ssh username@192.168.68.100 ``` [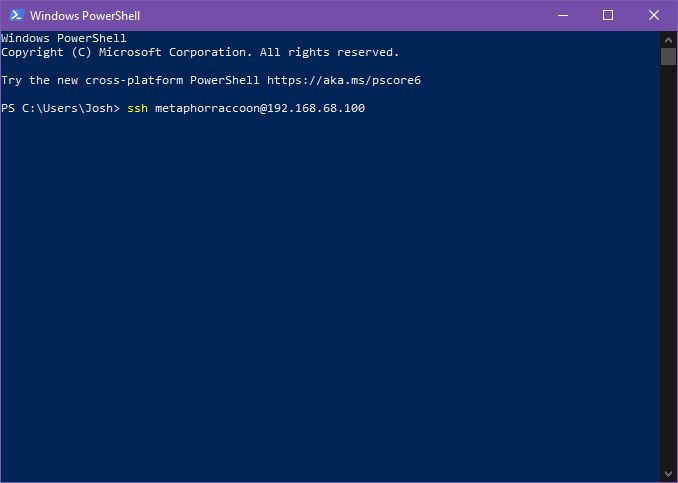](https://hub.subspace.services/uploads/images/gallery/2025-04/8dEimage.png) You will be alerted that the authenticity of the host server could not be verified. This happens because we have never connected to the server before and it can't ensure the server's fingerprint. [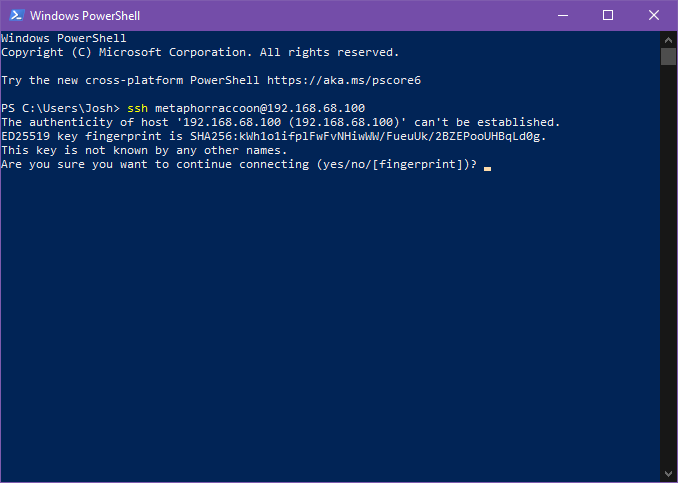](https://hub.subspace.services/uploads/images/gallery/2025-04/2MNimage.png) We can type 'yes' then hit 'enter' to accept the newly generated host fingerprint and remember it for future use. [](https://hub.subspace.services/uploads/images/gallery/2025-04/jnEimage.png) Now, you will be prompted for your password. After hitting 'enter', you will be connected to your server and can run commands. [](https://hub.subspace.services/uploads/images/gallery/2025-04/518image.png) You can disconnect from the SSH connection with the following command: ```bash exit ``` ## MacOS MacOS, and the legacy OS X, come with SSH already installed so you can remotely connect to your server.You will need to know your [username set during the installation process](https://hub.subspace.services/books/software/chapter/installing-an-operating-system "Installing an Operating System") and the IP Address you set during [network configuration](https://hub.subspace.services/books/software/page/networking "Static Network IP").
We can connect to our server through the terminal using the *ssh* command. We will be connecting to our user account what is at our server's IP address: ```bash ssh username@192.168.68.100 ``` You will be alerted that the authenticity of the host server could not be verified. This happens because we have never connected to the server before and it can't ensure the server's fingerprint. We can type 'yes' then hit 'enter' to accept the newly generated host fingerprint and remember it for future use. Now, you will be prompted for your password. After hitting 'enter', you will be connected to your server and can run commands. You can disconnect from the SSH connection with the following command: ```bash exit ``` ## Android & iOS There are apps available through the Google Play Store and Apple App Store that allow you to remotely connect to your server using SSH. We recommend [Termius](https://termius.com/), a freeware application for Android 7 and iOS 16 or newer. You can create a profile for your server with the credentials pre-saved for quick connection. As a premium paid feature, you can also sync these hosts between the mobile and desktop clients. [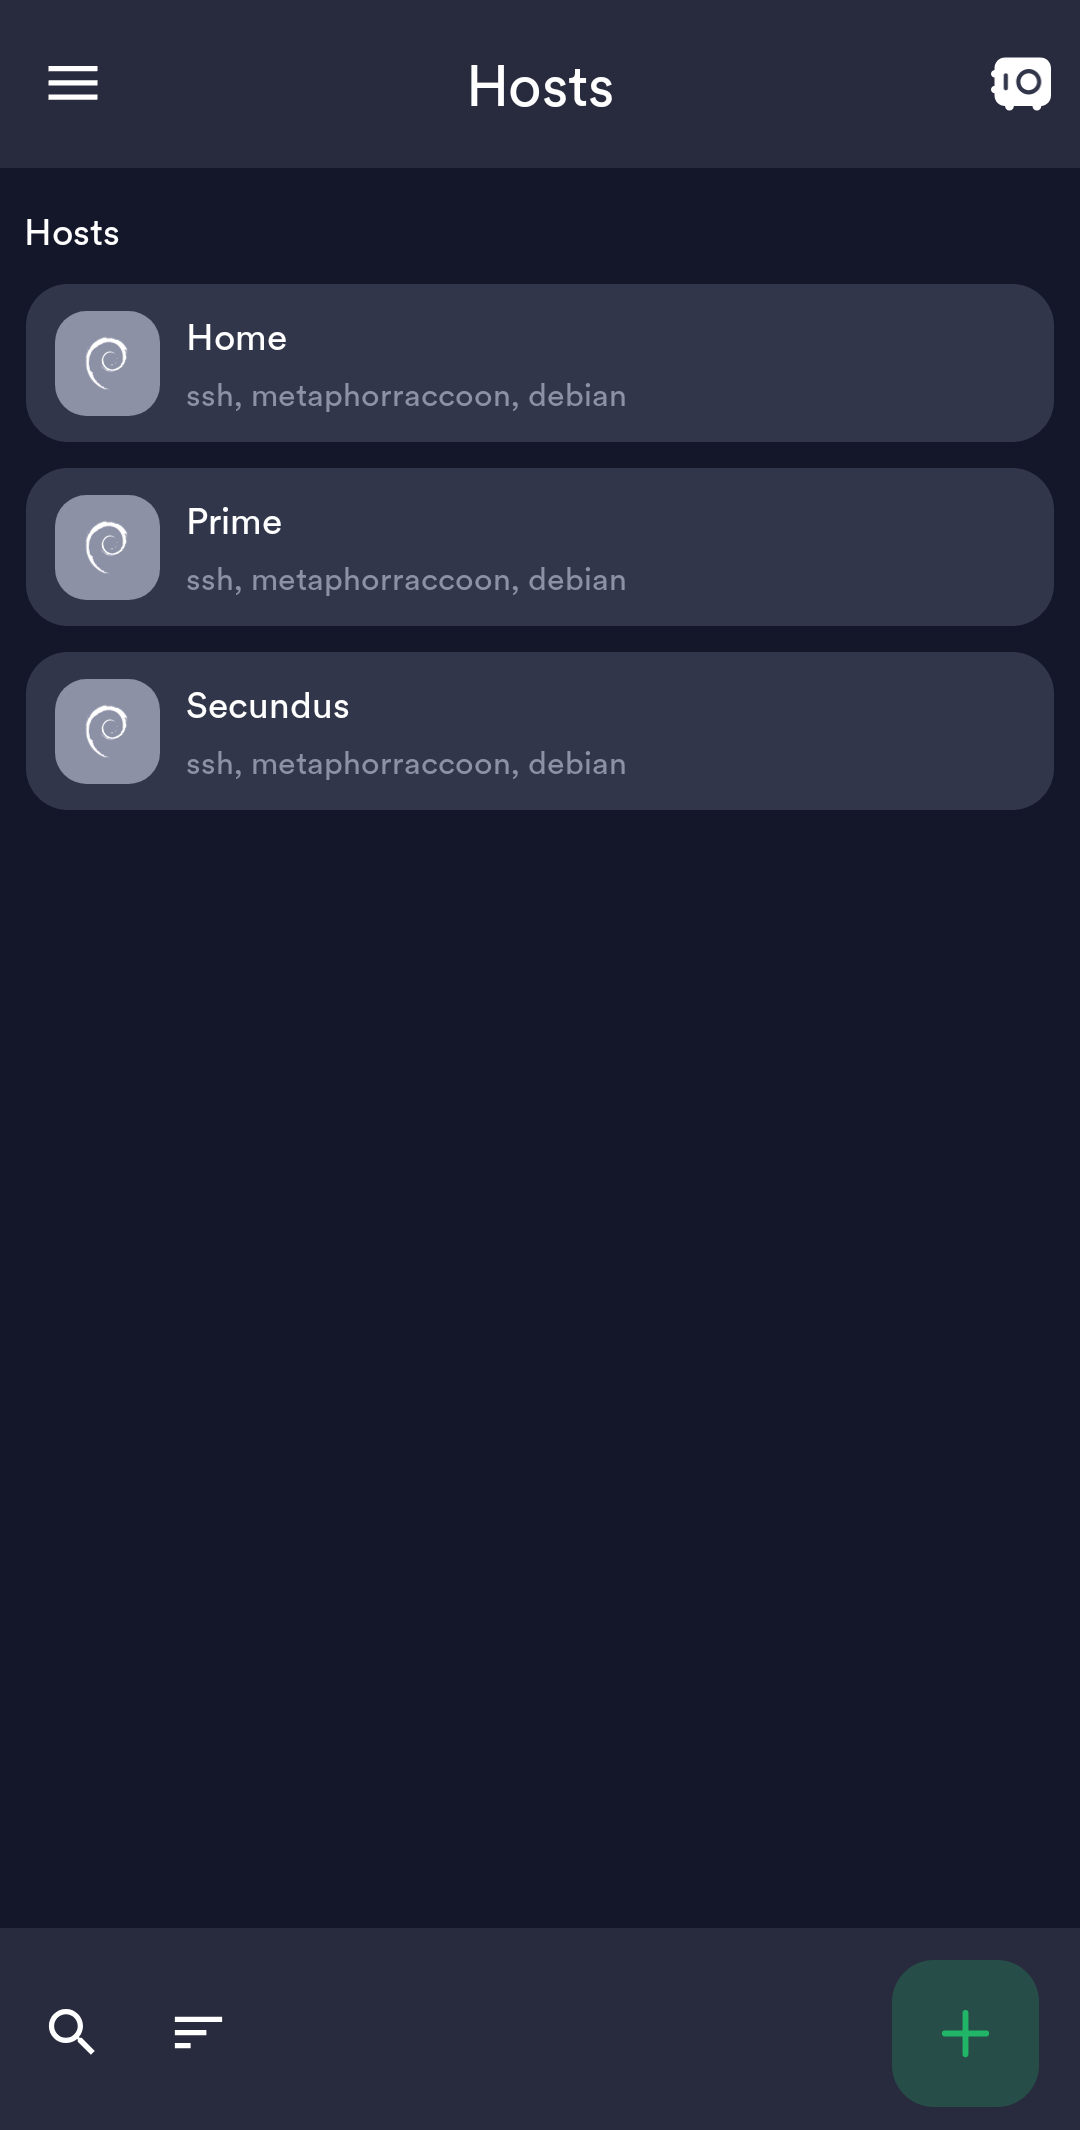](https://hub.subspace.services/uploads/images/gallery/2025-02/1000006219.png) ## Web Access SSH is a great option for connecting to your server over your local network, but is not available through the world wide web. The easiest way to accomplish this is to use our home server to host [Guacamole](https://hub.subspace.services/books/administration-monitoring/chapter/guacamole "Guacamole"), a web application that facilitates remote connection to RDP, VNC and SSH through your web browser. [](https://hub.subspace.services/uploads/images/gallery/2025-03/screen-shot-2025-03-09-at-21-24-24.png) # Remote Desktop We will be installing [xrdp](https://en.wikipedia.org/wiki/Xrdp), a service that allows us to remotely access our computer over the local network. This is an open-source implementation of Microsoft's [Remote Desktop Protocol](https://en.wikipedia.org/wiki/Remote_Desktop_Protocol) and will work with any software that supports RDP. ## Installing Remote Desktop Run this command in a terminal to install it: ``` sudo apt-get install -y xrdp ```| [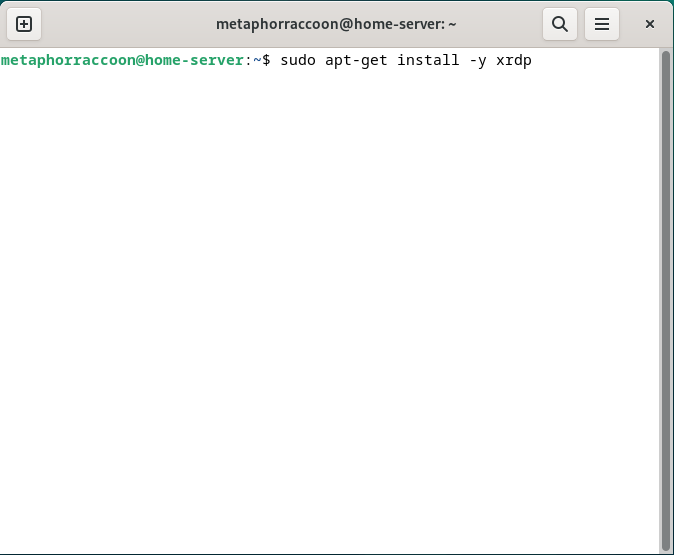](https://hub.subspace.services/uploads/images/gallery/2025-04/Mxcimage.png) | [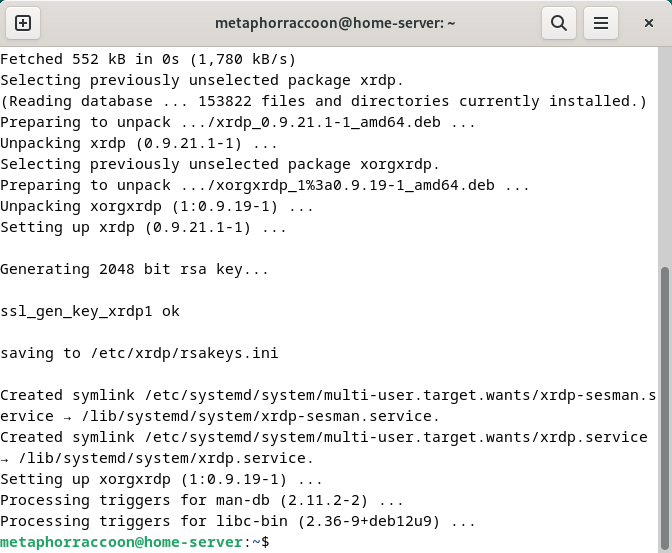](https://hub.subspace.services/uploads/images/gallery/2025-04/iJ2image.png) |
You cannot remote desktop into your account while you are logged in locally through the desktop.
### Linux We will be installing [Remmina](https://en.wikipedia.org/wiki/Remmina), an open-source client for accessing computers over the network using protocols like RDP, SSH, and VNC. We will need to open the terminal and run the following commands to install the software. ``` sudo apt update sudo apt-get install -y remmina remmina-plugin-rdp remmina-plugin-vnc ```| [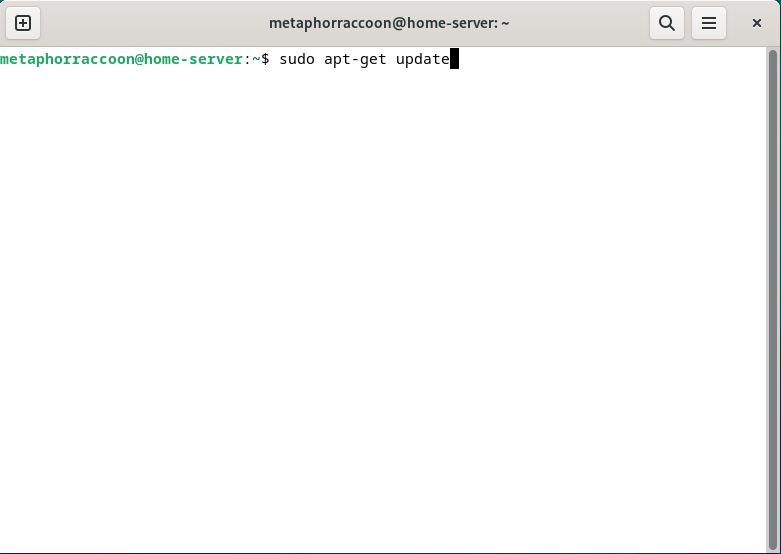](https://hub.subspace.services/uploads/images/gallery/2025-04/vTqimage.png) | [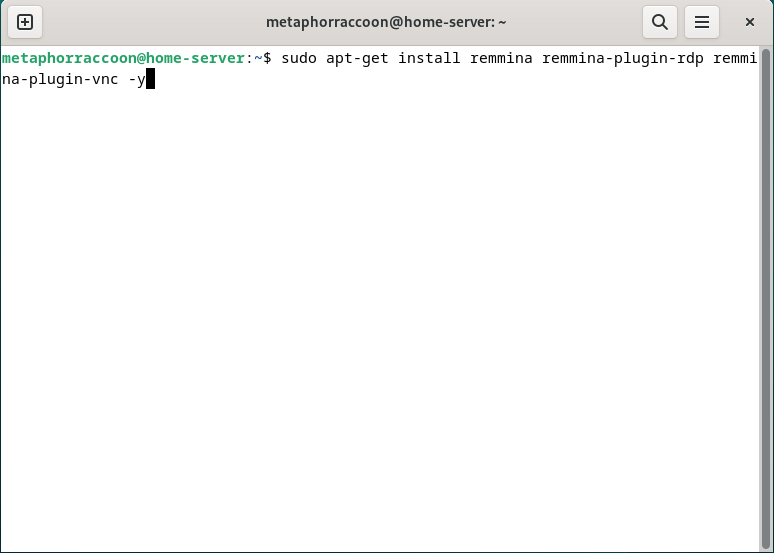](https://hub.subspace.services/uploads/images/gallery/2025-04/lKcimage.png) | [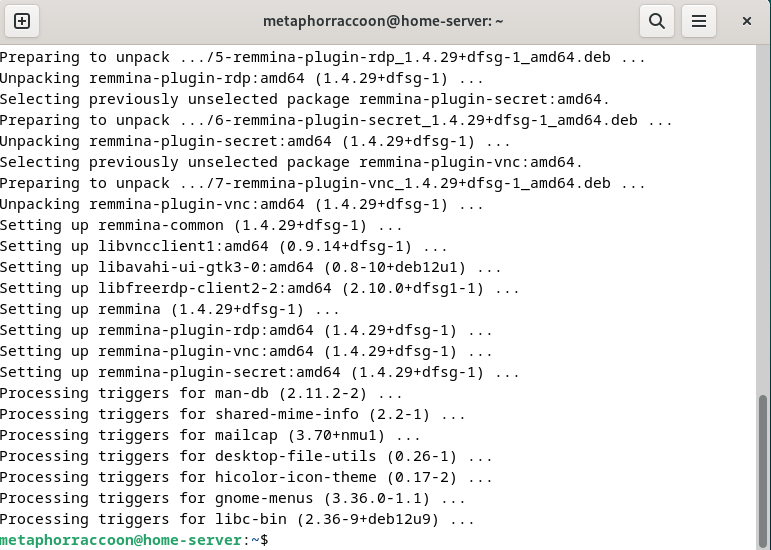](https://hub.subspace.services/uploads/images/gallery/2025-04/7Gpimage.png) |
| [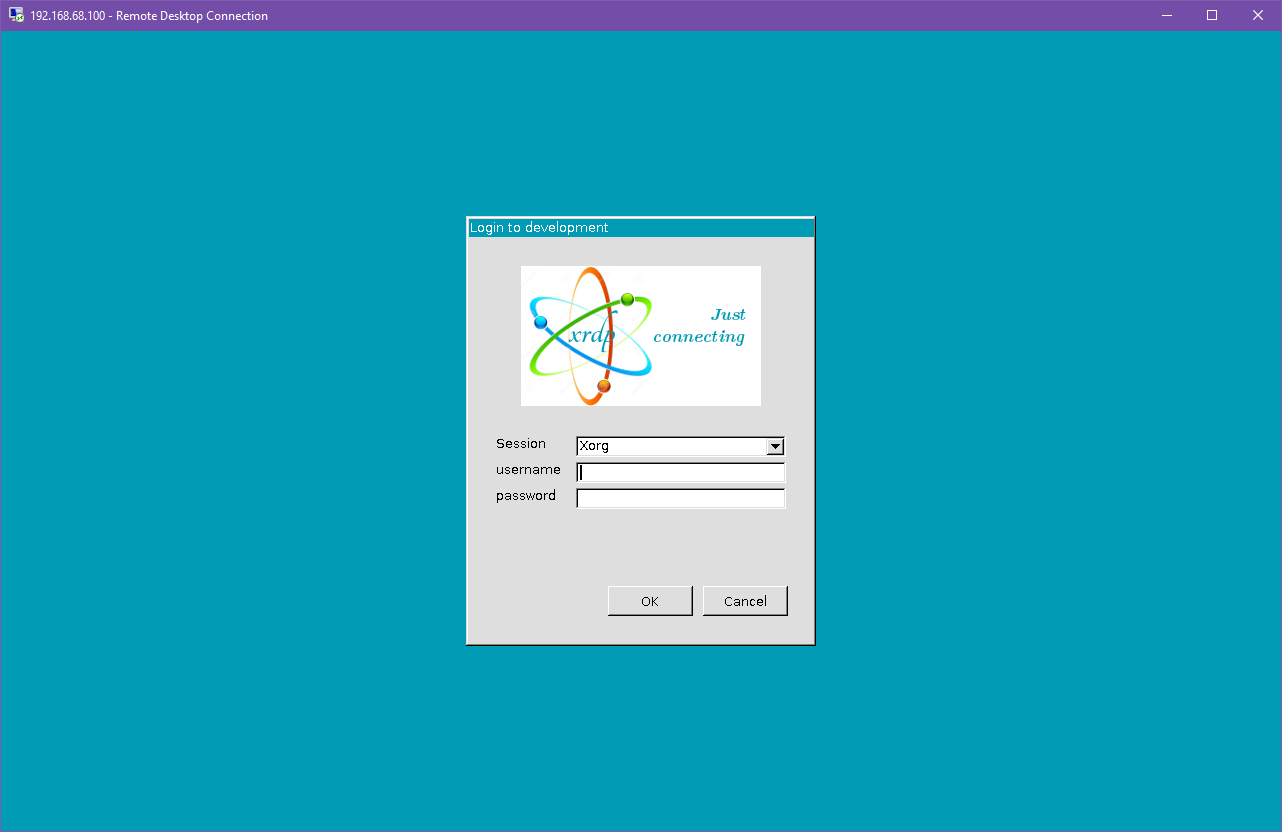](https://hub.subspace.services/uploads/images/gallery/2025-04/oc2image.png) | [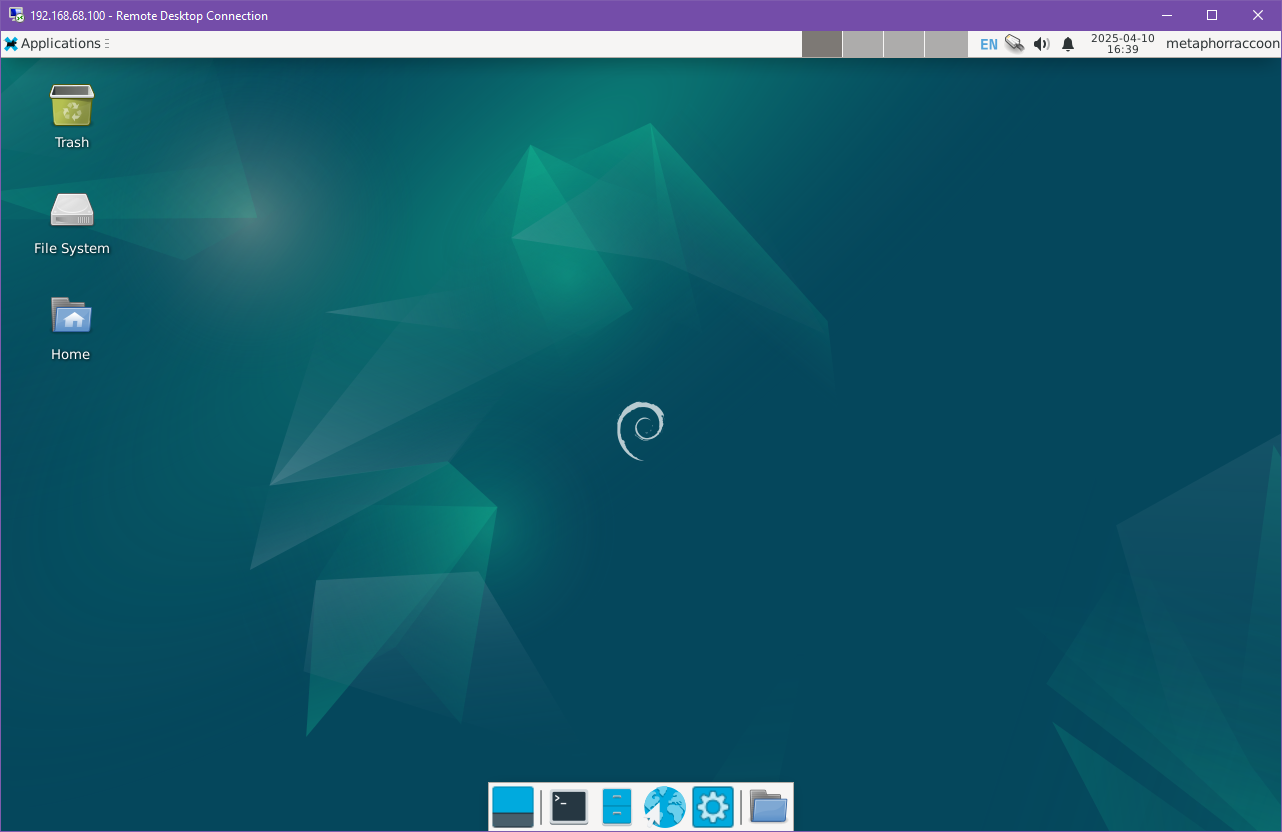](https://hub.subspace.services/uploads/images/gallery/2025-04/LmWimage.png) |
Change 'username' to your account's username.
```bash sudo adduser username sambashare ``` Next, we will need to set the password we'll use to access our files.Change 'username' to your account's username.
```bash sudo smbpasswd -a username ``` You will be prompted to enter and confirm your password. If you wish, this can be the same as your account password. Once that is completed, we can restart the Samba service using the following command: ```bash sudo systemctl restart smbd ``` Now, we can verify that our Samba share are working by verifying the output of the following command: ```sh smbclient -L localhost -U % ``` This program lists all available Samba shares on the local computer. # Backup Solutions All servers need an effective and consistent backup solution in case something goes wrong. # Local Backup You can never know when a hard drive will fail or a software update will cause your operating system to fail to boot. It's always best to be prepared and build yourself a safety net. A simple yet effective backup solution is simply an external hard drive connected to your server. [](https://hub.subspace.services/uploads/images/gallery/2025-03/fRmimage.png) [Timeshift](https://github.com/linuxmint/timeshift) is an application that runs in the background on your server and performs backups to a local storage drive. This service only copies files as they change, making it easy to perform incremental backups daily or weekly. These can be created on a schedule and old backups being automatically deleted to free up space as needed. In the event of a storage drive failure, we can use the command line version of Timeshift to restore our system from the latest backup. We can install Timeshift using the terminal: ```bash sudo apt-get install -y timeshift ``` Once installed, we can open it with: ```bash sudo timeshift-gtk ```While connecting through [RDP](https://hub.subspace.services/books/monitoring-maintenance/page/remote-desktop "Remote Desktop"), this terminal command temporarily allows the root user's GUI applications to launch through your user account: *xhost si:localuser:root*
The first time we open Timeshift, it'll start a configuration wizard. [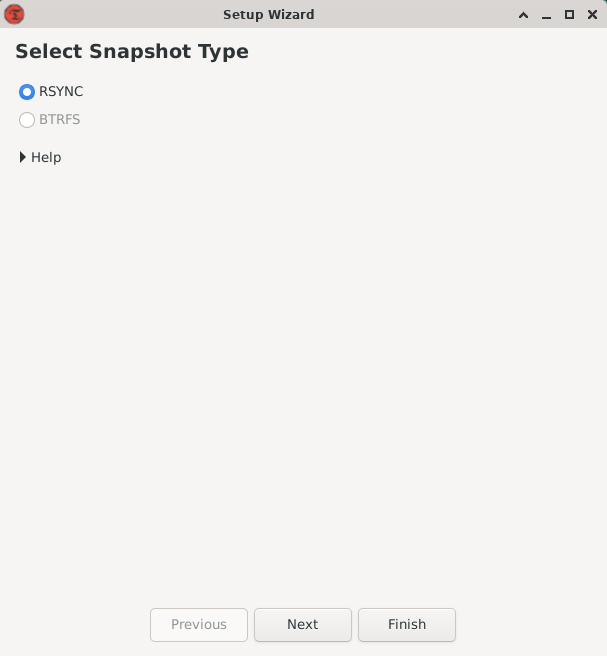](https://hub.subspace.services/uploads/images/gallery/2025-03/afDimage.png) We will be asked what Snapshot style we want to use for our backups and select 'rsync'. [Rsync](https://rsync.samba.org/) is open-source command-line application that specializes with incremental file transfers. [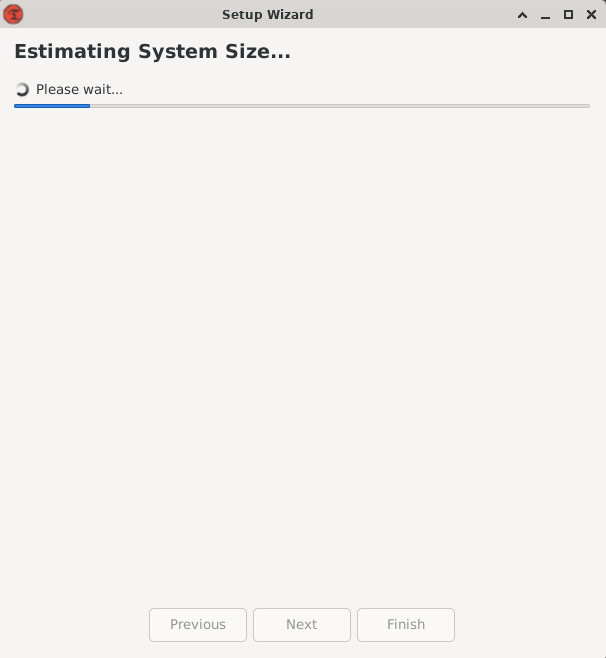](https://hub.subspace.services/uploads/images/gallery/2025-03/R8Timage.png) Timeshift will estimate the backup size by scanning our system files. This should not take long because we are setting up a brand new operating system. [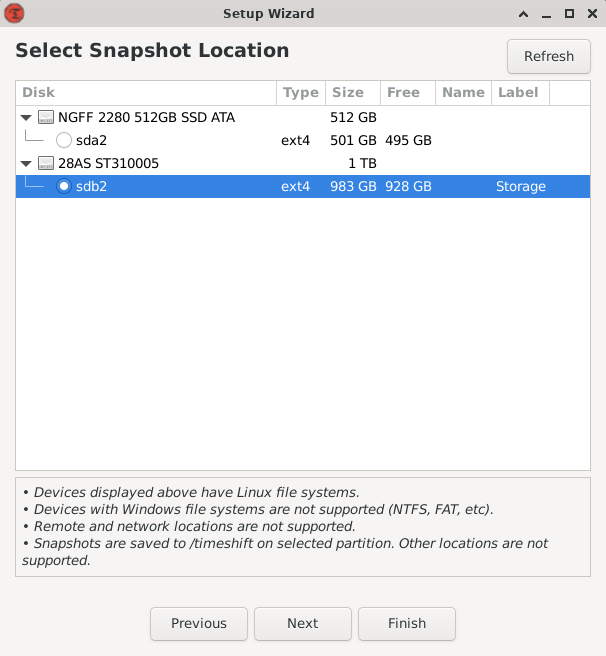](https://hub.subspace.services/uploads/images/gallery/2025-03/Y0fimage.png) Once it's completed, we'll be asked where we will be storing our backups. We will select the Storage drive that [we mounted earlier](https://hub.subspace.services/books/software/page/mounting-your-disks "Mounting Your Disks"). Timeshift will create a folder within the root of that drive, in our case: */mnt/storage/Timeshift*. [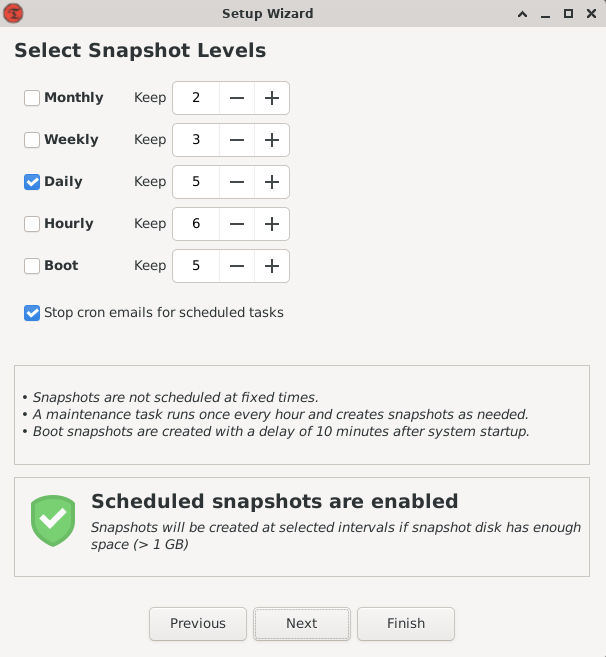](https://hub.subspace.services/uploads/images/gallery/2025-03/zYfimage.png) Next, we'll have choose our snapshot level. This allows us to customize how often we want our backups to run, as well as how many to keep. Weekly backups are a great starting point, but running them nightly can help you get back up and running faster. Enabling monthly, weekly, and daily backups will provide the most protection by ensuring you have received data going back months. [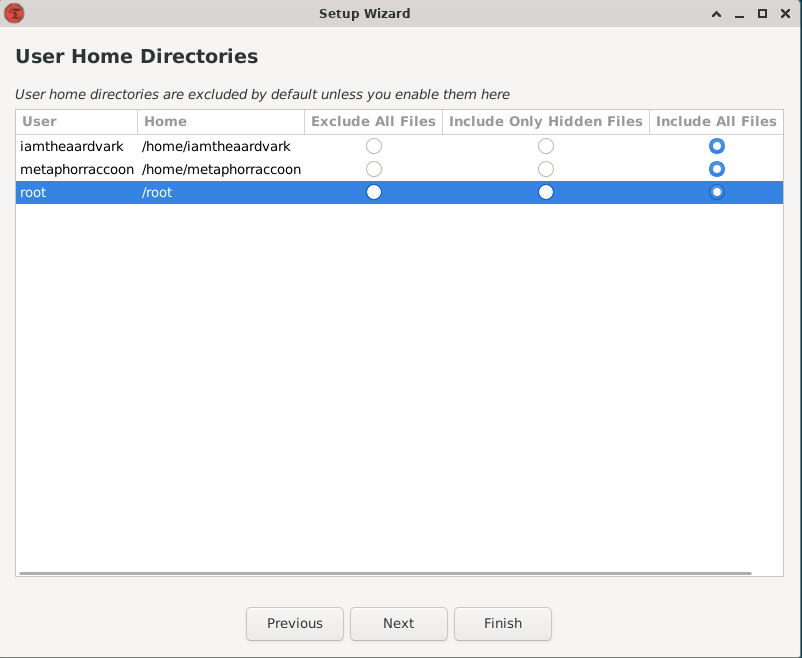](https://hub.subspace.services/uploads/images/gallery/2025-03/tHBimage.png) Timeshift will ask if you want to backup the home directories for root and your account system accounts. We will choose to enable both to include all files. [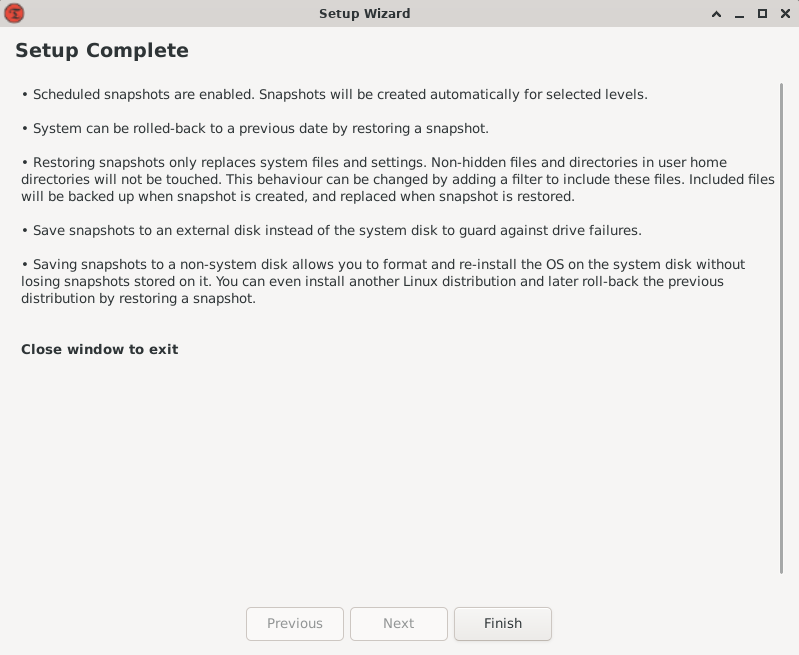](https://hub.subspace.services/uploads/images/gallery/2025-03/FpIimage.png) Now that we have finished setup, we can create our first backup by hitting the vertical\_align\_bottom 'Create' button. [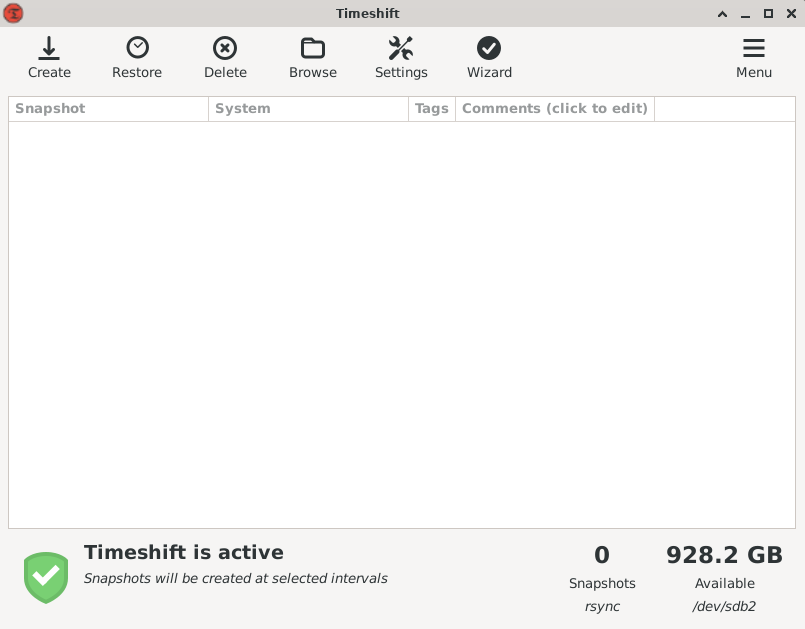](https://hub.subspace.services/uploads/images/gallery/2025-03/pBGimage.png) A window will appear to show us the current progress. The first backup of your freshly installed operating system shouldn't take too long. [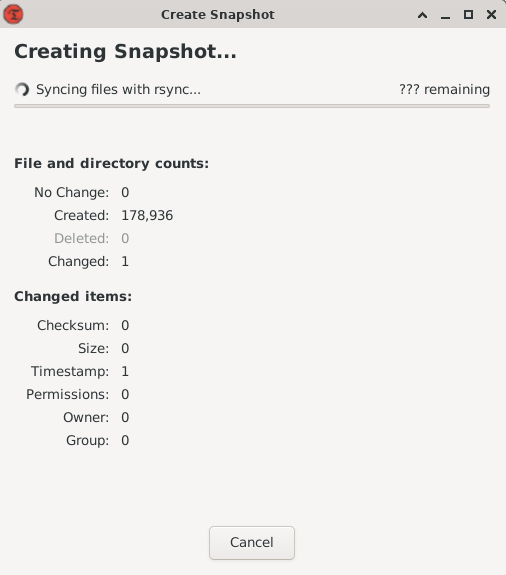](https://hub.subspace.services/uploads/images/gallery/2025-03/8IGimage.png) Once the backup is completed, you're safe in the event of a backup. [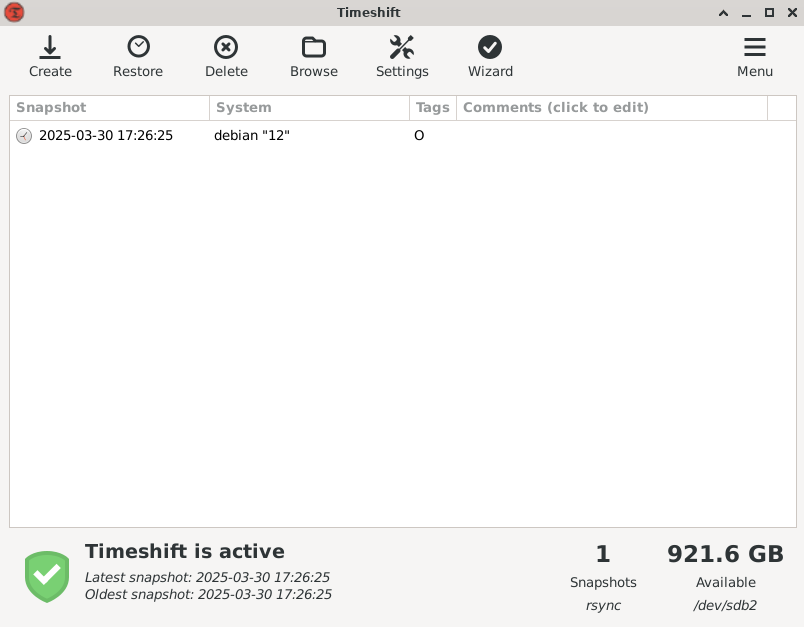](https://hub.subspace.services/uploads/images/gallery/2025-03/jAOimage.png) Timeshift will automatically backup your computer on the schedule we selected. [Your system and files can be restored](https://github.com/linuxmint/timeshift#system-restore) through the graphical interface, on your current system or through a [Debian Live CD](https://www.debian.org/CD/live/). # Remote Backup [Duplicati](https://hub.subspace.services/books/duplicati "Duplicati") is a self-hosted service we can access through our browser that let's schedule backups. It can never hurt to have an additional strategy, especially one that is stored outside of your home. Through Duplicati, we can upload encrypted backups to a cloud storage service. [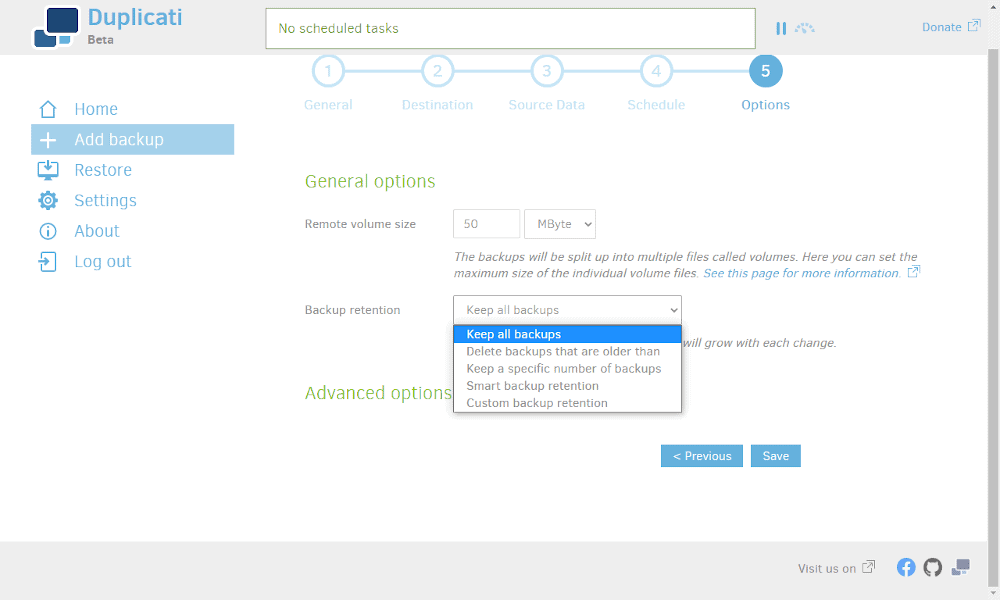](https://hub.subspace.services/uploads/images/gallery/2025-02/1000006224.png) Local backups are perfect to getting your server running after a systems failure while remote backups offer long-term reassurance you'll never lose important personal data. We can use remote backup storage for documents, photos and other data we cannot stand to lose. In the event of something catastrophic, like a lightning strike disabling your entire server or a fire, storing your more important data elsewhere can be a life saver. This form of cloud storage is excellent as a decentralized strategy because the data is still fully in our control, using secure encryption and a filing system only we understand. We will be focusing on a cloud storage service provided by Backblaze known as "B2 Buckets." These storage buckets are affordably priced, per terabyte of data, and come with unlimited bandwidth for uploading files to their service. Downloading large amounts of data, however, can accrue fees per gigabyte. Therefore, cloud storage is a great safety net to have in the event of catastrophic data loss. We can install Duplicati through Portainer now that we have that all set up. # Administration ### Hardware Monitoring [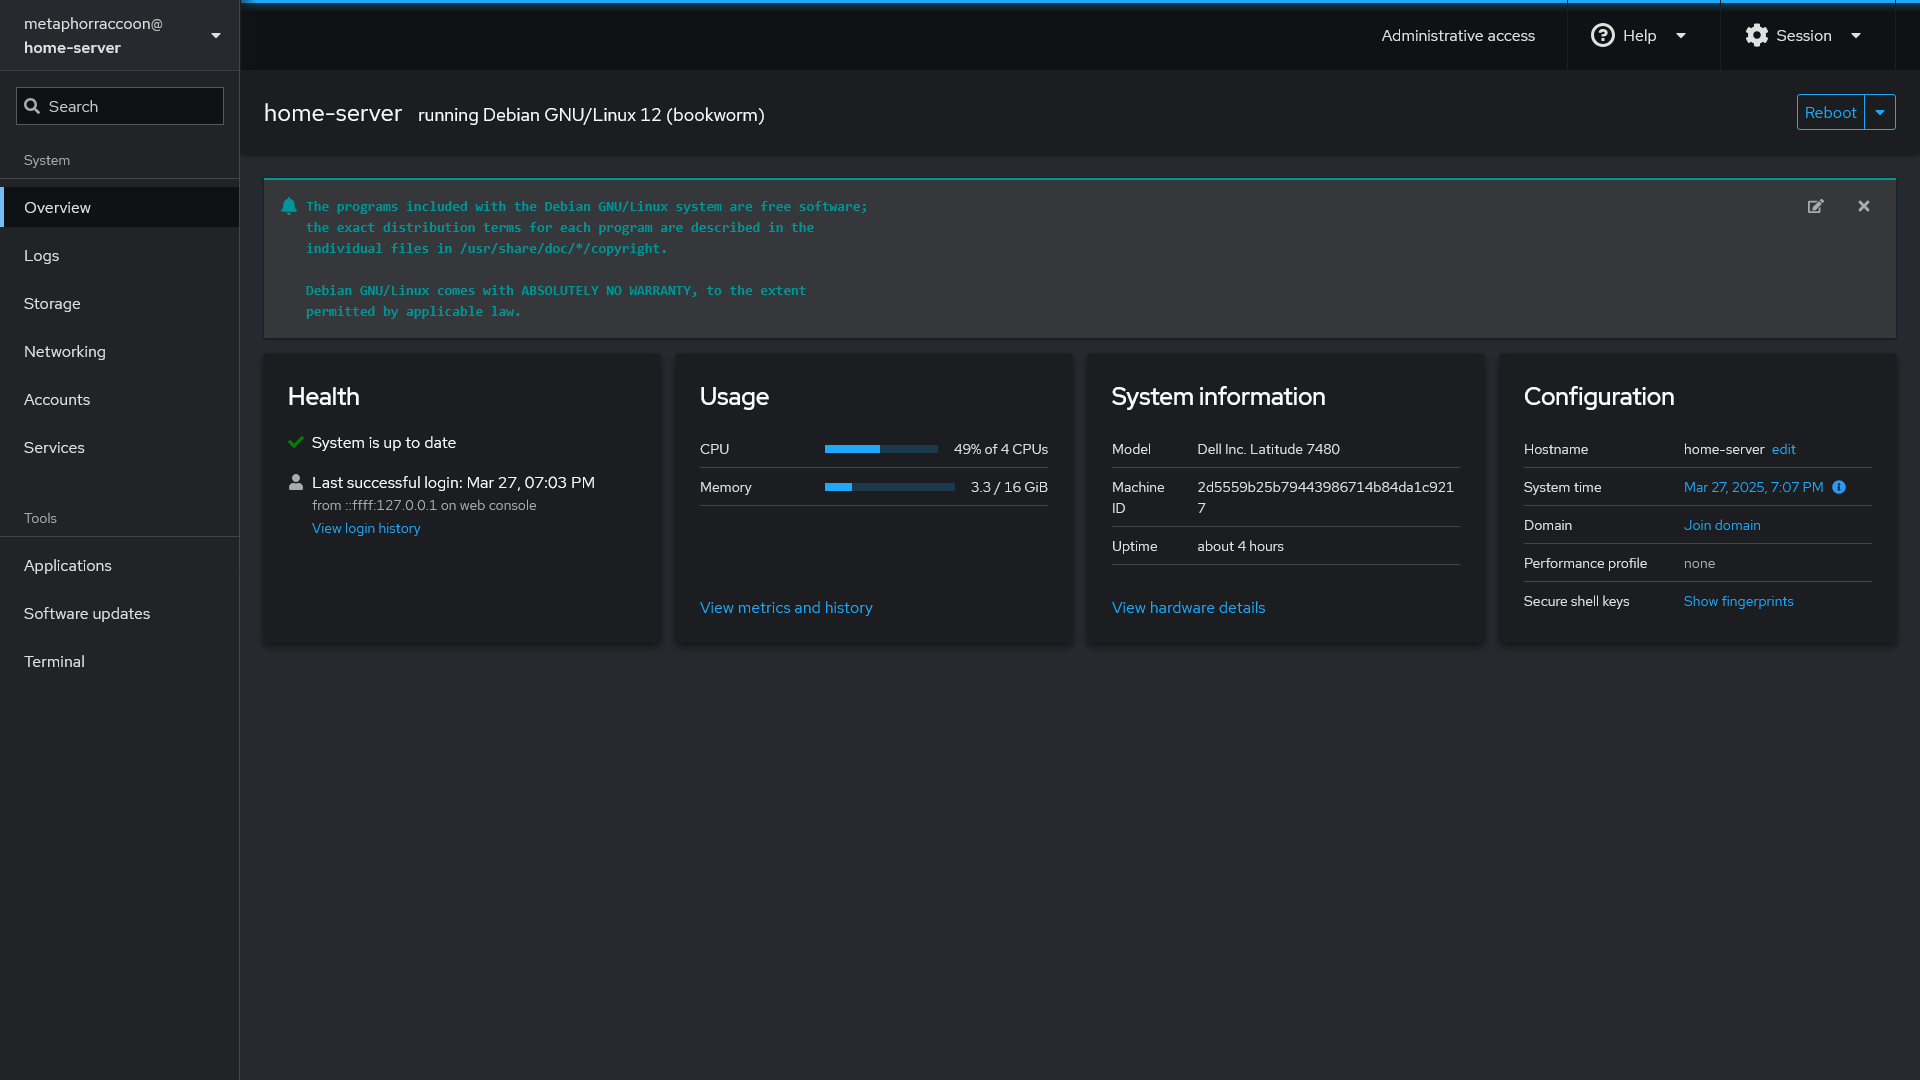](https://hub.subspace.services/uploads/images/gallery/2025-03/scaled-1680-/screen-shot-2025-03-27-at-19-07-12.png) [Cockpit](https://hub.subspace.services/books/cockpit "Cockpit") is an excellent way to monitor your server's CPU, memory and storage space through your web browser. The web console can also install updates to your operating system and view your logs for troubleshooting. Cockpit also monitors your storage disks [SMART](https://en.m.wikipedia.org/wiki/Self-Monitoring,_Analysis_and_Reporting_Technology) (Self-Monitoring, Analysis and Reporting Tool) status to inform you about emergent issues. [Cockpit](https://cockpit-project.org/) is an web-based dashboard for Linux servers that keeps you up-to-date at a glance and helps you know what your server is doing without needing to remember all of the console commands.| [](https://hub.subspace.services/uploads/images/gallery/2025-03/screen-shot-2025-03-27-at-19-07-12.png) |
| [](https://hub.subspace.services/uploads/images/gallery/2025-03/screen-shot-2025-03-27-at-19-07-30.png) | [](https://hub.subspace.services/uploads/images/gallery/2025-03/screen-shot-2025-03-27-at-19-07-42.png) |
Installing [Cockpit](https://hub.subspace.services/books/cockpit "Cockpit") can keep you informed about updates and install them directly from your browser.
Security patches will occur as soon as possible when there are high-profile vulnerabilities that must be fixed. While Debian can perform automatic unattended upgrades, this is not the best option for a server. Always make sure you have an up-to-date backup before doing software updates. There is always the potential for unexpected errors. A backup can get you back up quickly.Stay up-to-date about [important Debian security updates](https://www.debian.org/security/).
### Installing Updates Manually You can install the upgrades for your system through the terminal: ```bash sudo apt update && sudo apt upgrade ```| [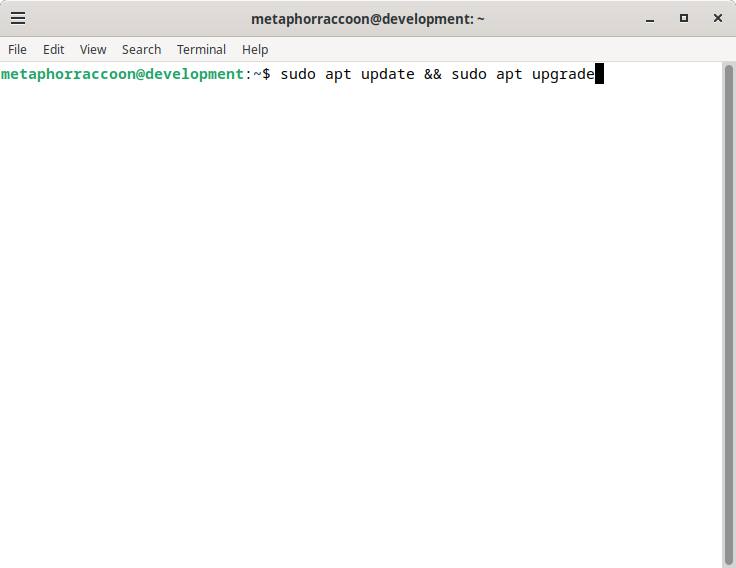](https://hub.subspace.services/uploads/images/gallery/2025-04/ny8image.png) | [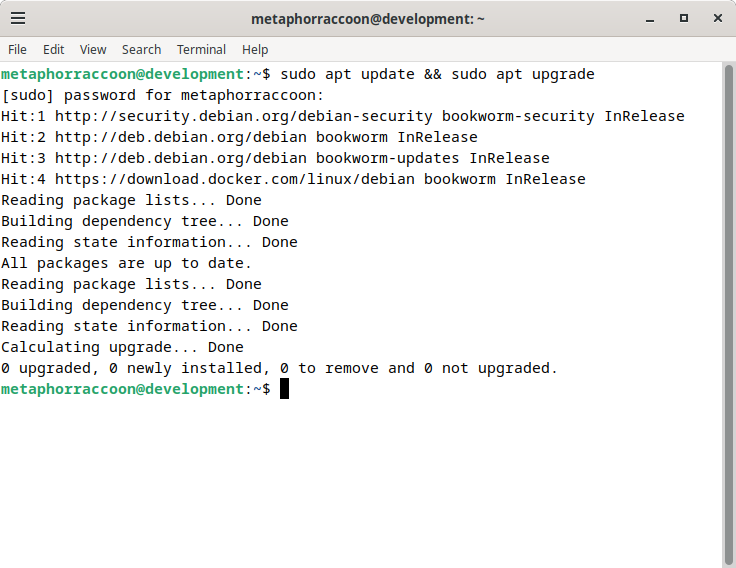](https://hub.subspace.services/uploads/images/gallery/2025-04/rTximage.png) |
Learn more about [computer system cleaning](https://www.ifixit.com/Wiki/Computer_System_Cleaning).
[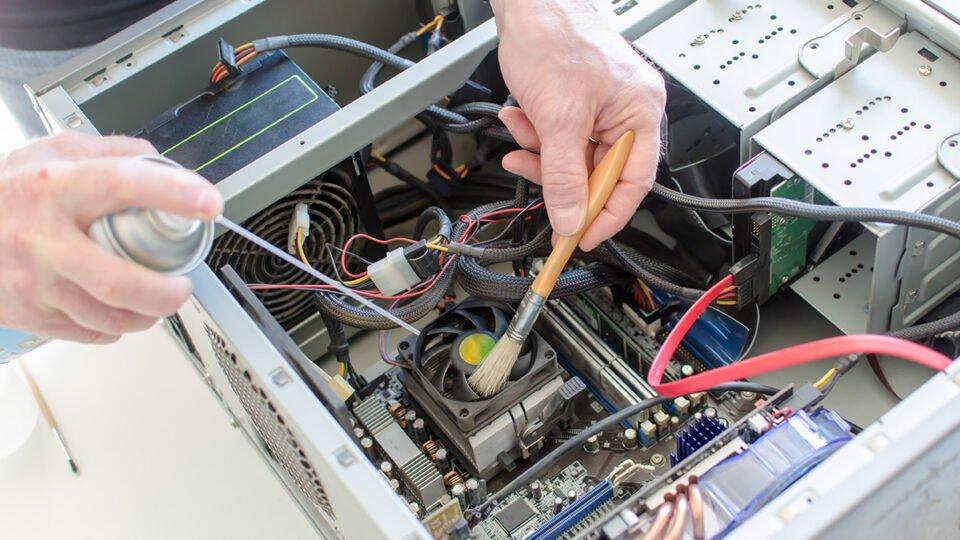](https://hub.subspace.services/uploads/images/gallery/2025-03/scaled-1680-/1000006813.jpg) This must be done while the system is turned off and removed from power. You must not use any liquid cleaners while performing electronics maintenance or it could damage the circuitry. We recommend using compressed air or vacuum cleaners intended for electronic system maintenance. # Next Steps We need to connect our server to the outside world now that everything is ready behind-the-scenes. [](https://hub.subspace.services/books/world-wide-web "Next Steps")