Formatting Your Disks
While running a personal cloud or media server, you may need additional hard drives to store movies, television or documents. Whether you are using a USB hard drive or installed a new NVME SSD, they will need a fixed location for accessing their files.
The Windows ecosystem assigns attached storage disks with a letter classification and mounts them as independent entities. This results in file paths like "C:\Users\".
Instead, Linux has the design philosophy that everything is a file meaning that all hard drives are mounted as a folder containing the files on your drive. On Linux, file paths can be expressed by their folder hierarchy. For example, user data is stored at the base of the hard drive within a folder named home, e.g. "/home/username".
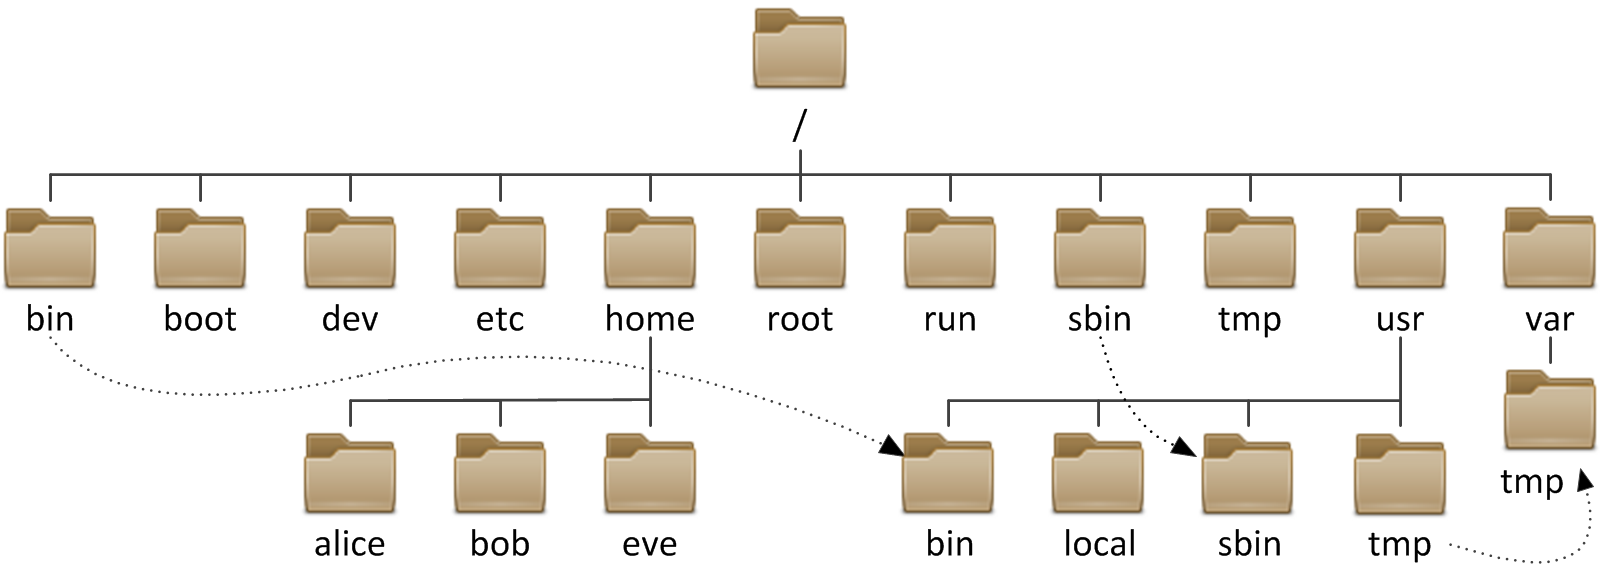
By default, internal drives are mounted within the /mnt folder while external hard drives are mounted inside a user folder within /mnt.
Ww need to explicitly mount these disks so that they don't change unexpectedly between system reboots. For simplicity, we want to ensure all of our storage disks is permanently mounted within the /mnt folder.
We will run this command in the terminal to run Gnome Disks, a graphical disk manager, as the root account.
sudo gnome-disks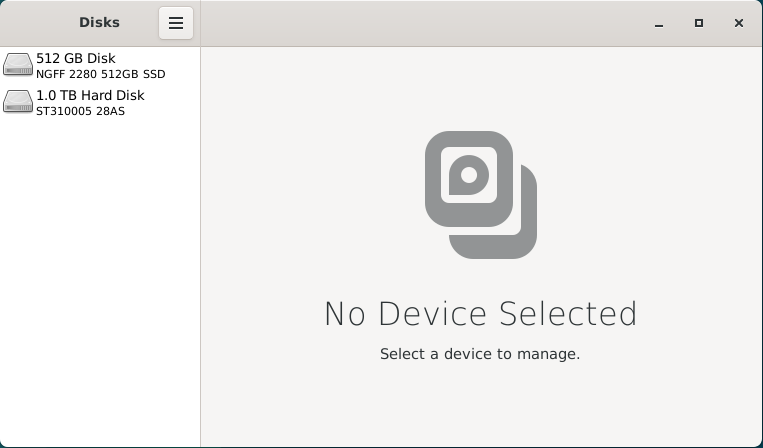
This application can be used to configure the file path used to mount the hard drive, as well as ensure that it will automatically be mounted each time the computer is started.
This application is being run as Root and has the potential to break your Debian install if you aren't careful.
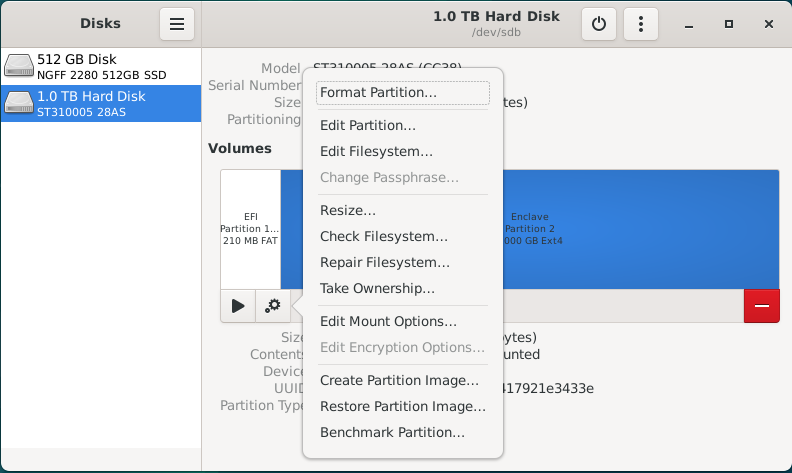
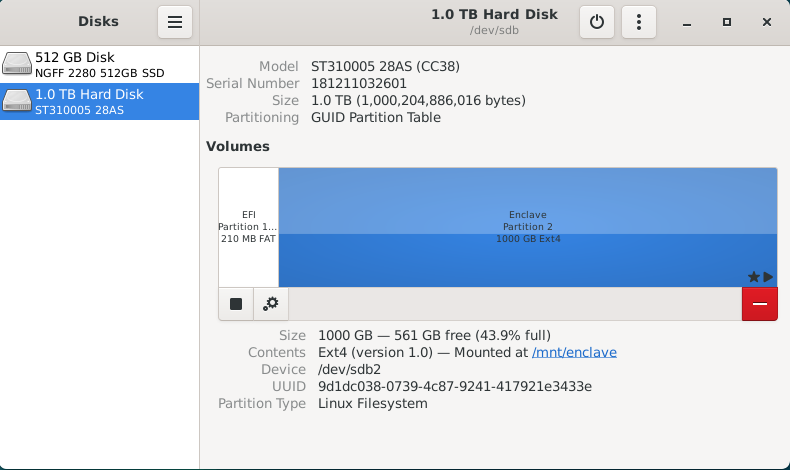
There are currently two disk drives installed into this computer; an SSD for the operating system, as well as an external hard drive for media storage. For this example, we will be changing the mount location for an external USB hard drive to the /mnt folder. We can select the drive from the sidebar and we will be able to inspect all of the partitions on this drive.
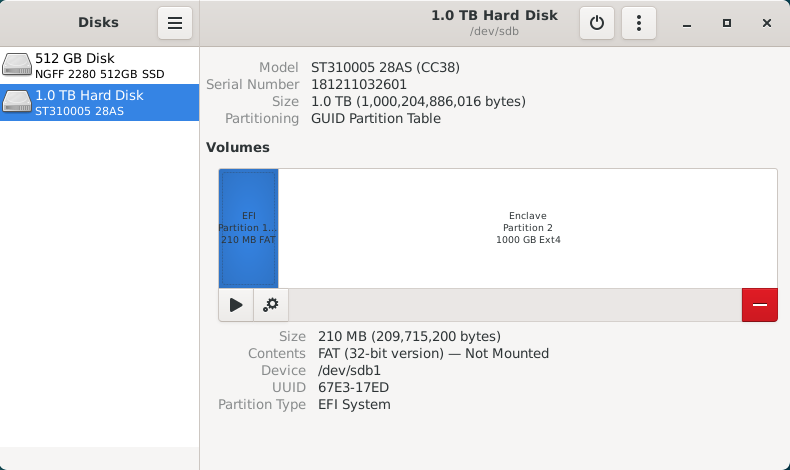
This drive has a small 210MB EFI partition, which stores system information, as well as a primary 1000GB data partition named "Enclave". We will ignore the EFI partition because it should not be mounted. For continuity, we will be mounting the Enclave partition at "/mnt/enclave". First, we need to select the Enclave partition, then click the gear icon to bring up the "Additional partition options" menu.
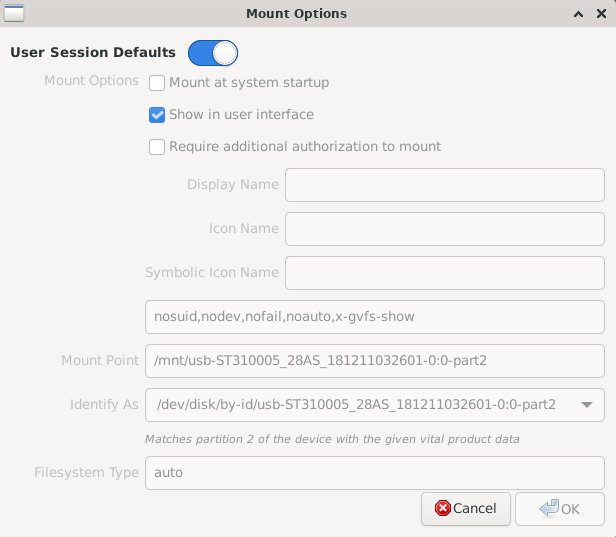
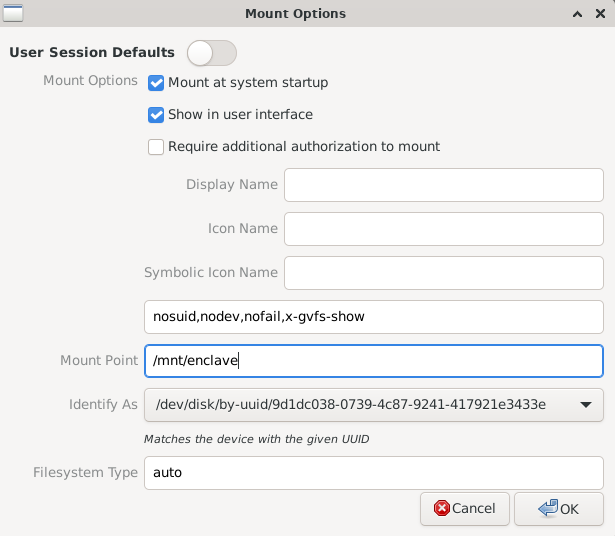
Deselect the "User Session Defaults" option and you will be able to change these settings. We want to ensure that the "Mount at system startup" and "Show in user interface" option are selected. Next, we will be changing the Mount Point to '/mnt/enclave'.
Finally, we will be changing "Identify As" to the option that begins with "/dev/disk/by-uuid/*". Each hard drive has a Universally Unique Identifier that does not change and will ensure that the correct drive is always mounted at the correct location.
Once we hit OK, the software will commit these changes to the /etc/fstab – or File Systems Table – file. This is a core operating system file that handles the mounting of both local and network drives during the boot process. As we can see, the hard drive we've just finished configuring hasn't been mounted for use yet.
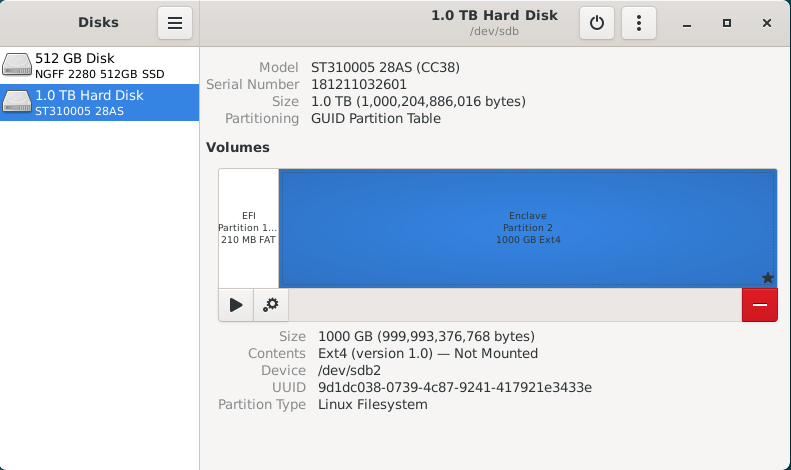
All we need to do now is hit the "Play" icon labeled as "Mount selected partition" to make it available for use. This will mount the hard drive on your desktop, within the file browser, and the configured mount location of "/dev/enclave".
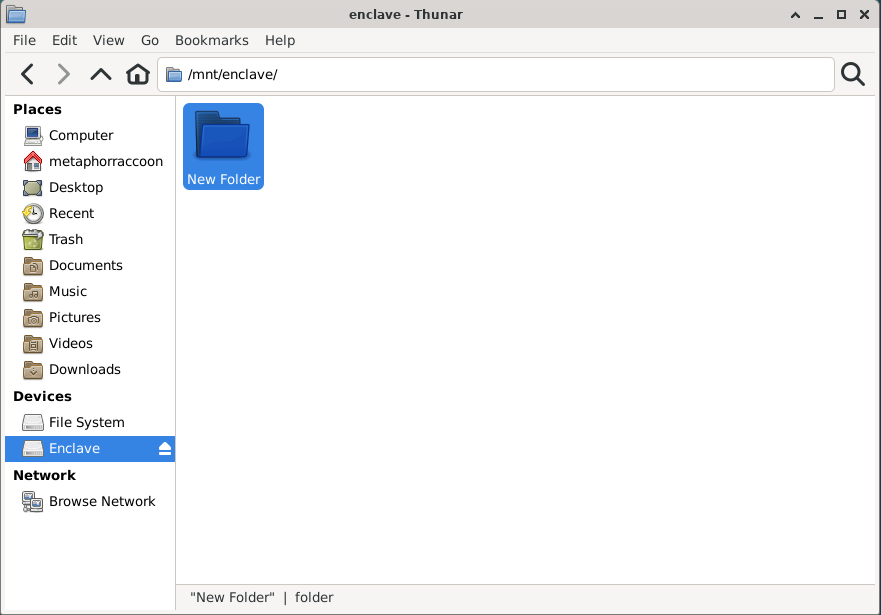
You can click on "/mnt/enclave" to verify that the directory is accessible. You may want to attempt creating a new folder through the File menu or by right-clicking on the empty space and selecting "New folder".

If you are able to create a new folder, then your new hard drive is setup and ready for use. You can now delete this folder.