
Creating Your First Container
We will be installing Portainer, an open-source web application that makes it easy to manage Docker from your browser.
You can find the official Portainer installation guide on their website.
We are adding port 9000 which isn't used by default. This allows Portainer to be accessed through HTTP instad of HTTPS.
Using the terminal, we will issue the command to start our new Docker container:
docker run -d -p 8000:8000 -p 9000:9000 -p 9443:9443 --name=portainer --restart=always -v /$XDG_RUNTIME_DIR/docker.sock:/var/run/docker.sock -v /srv/portainer:/data portainer/portainer-ceDocker will download the image and start the container. Once the command has finished, we can verify that Portainer is operational by querying Docker's running containers:
docker psThe command should return our running Portainer container and show that it's available under four different ports. In order to configure our
Go to localhost:9000
Create administrator account. This can time out if you do not do it right away. This will require stopping and restarting the portainer container.
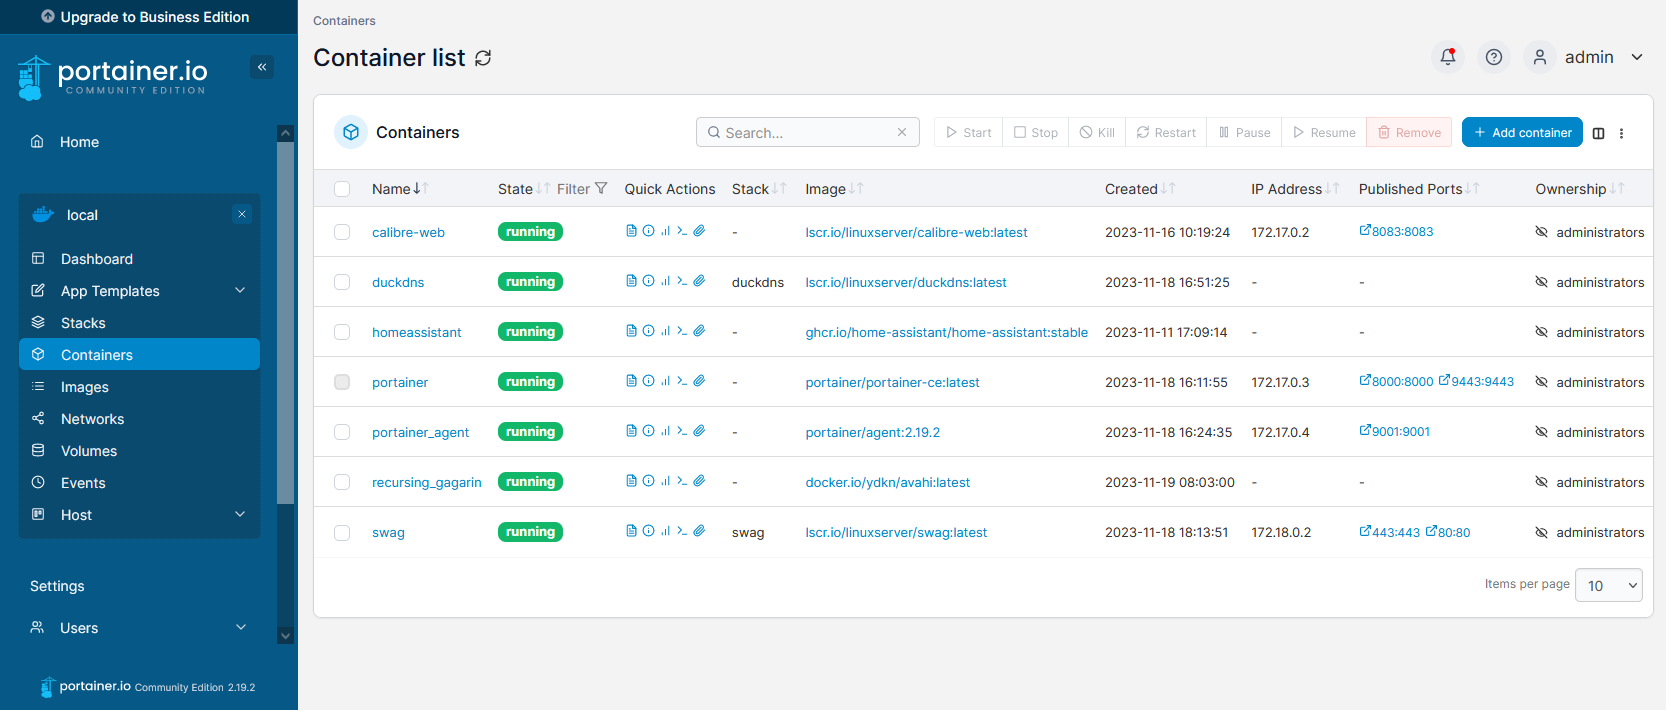
Hit Get Started to use the default docker environment.