
Getting Started
Background
info
Before getting started, we should know what we're building. Running your own server is an excellent avenue to explore what it means to think like a designer and a developer.
By taking ownership of our own digital security and privacy, we can help protect our families and communities.
Part 1: Hardware
host
Now that we understand our hardware requirements, we need to find a machine that supports them. We can create an open-source server using consumer hardware.

Finally, there are some firmware configuration we should check before installing an operating system.
Part 2: Software
terminal
We need to install Debian Linux onto our computer to form a foundation. We will use Docker to create secure, self-contained "virtual operating systems" that are easy to monitor and keep up-to-date.
Importantly, we need to create a backup solution and setup remote access for our server.
Part 3: Services
cloud_circle
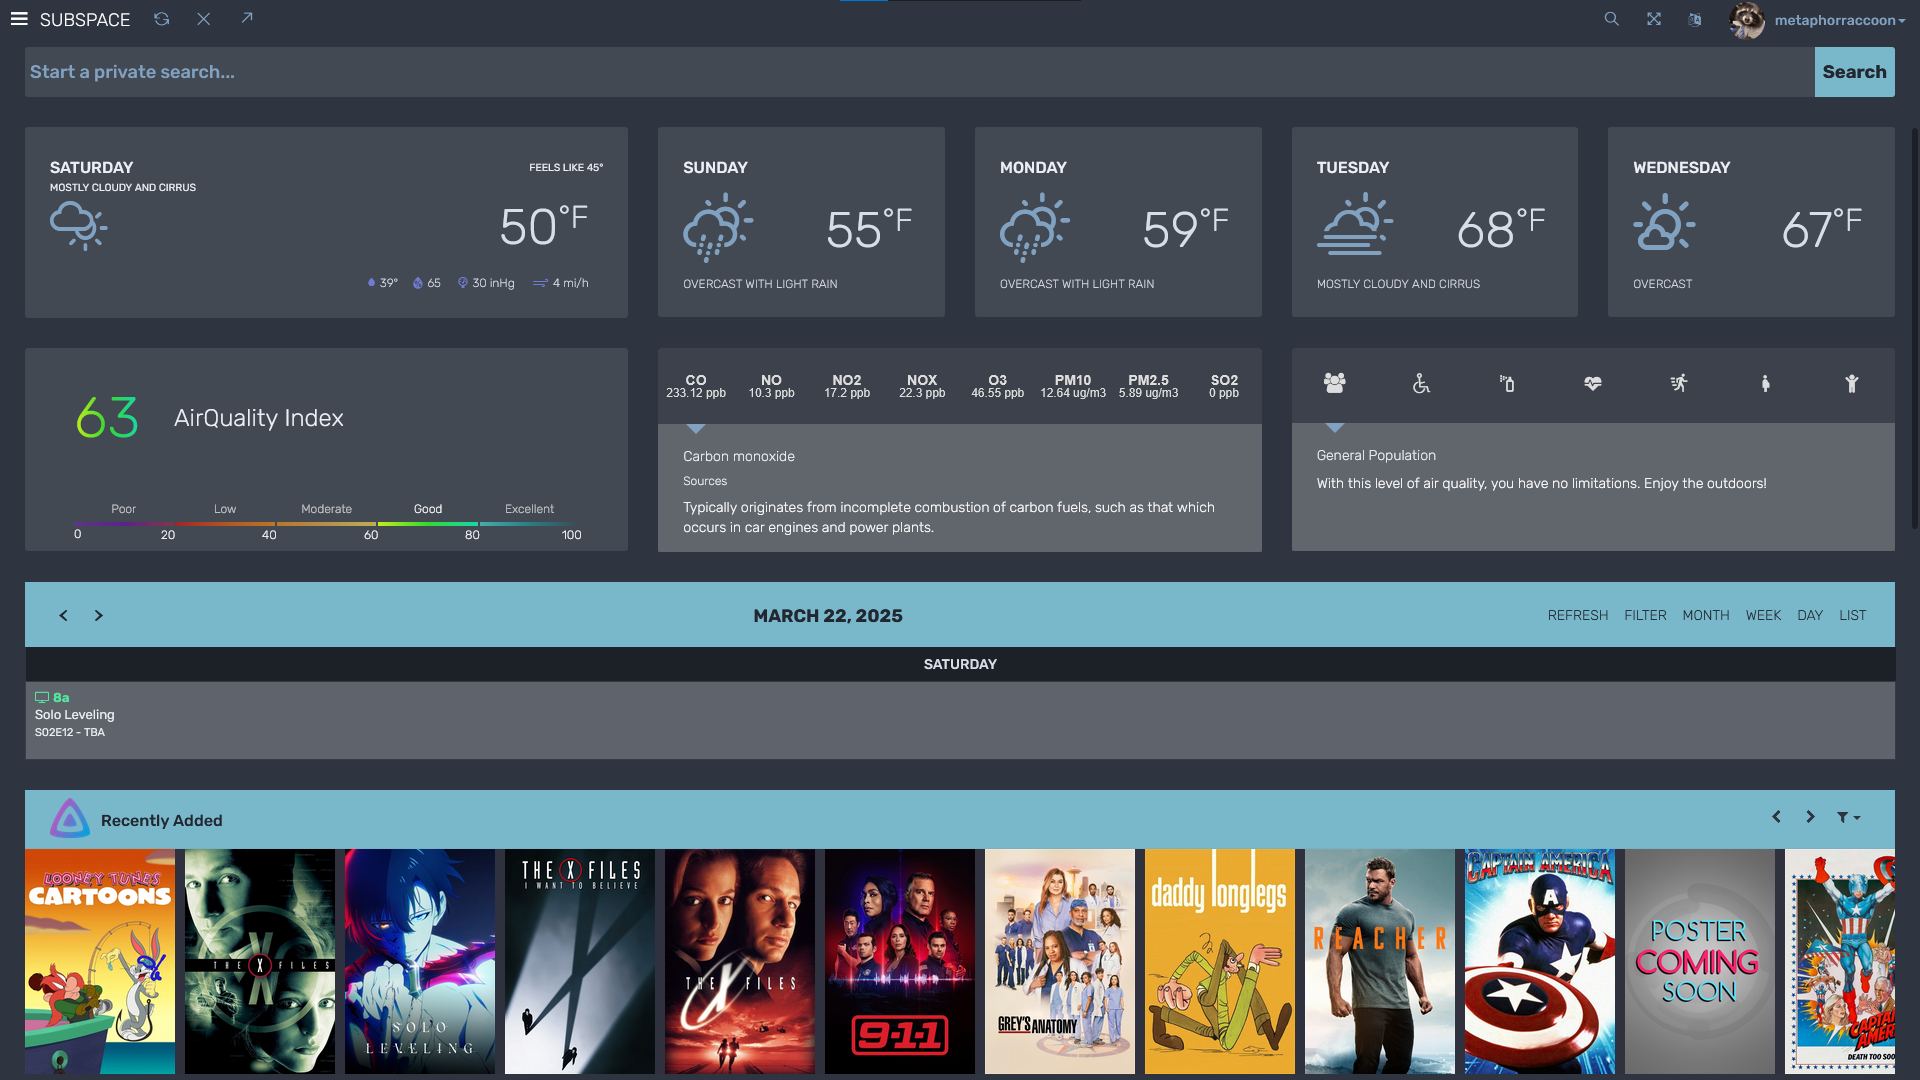
Through Portainer, an intuitive interface for installing Docker services through a browser.
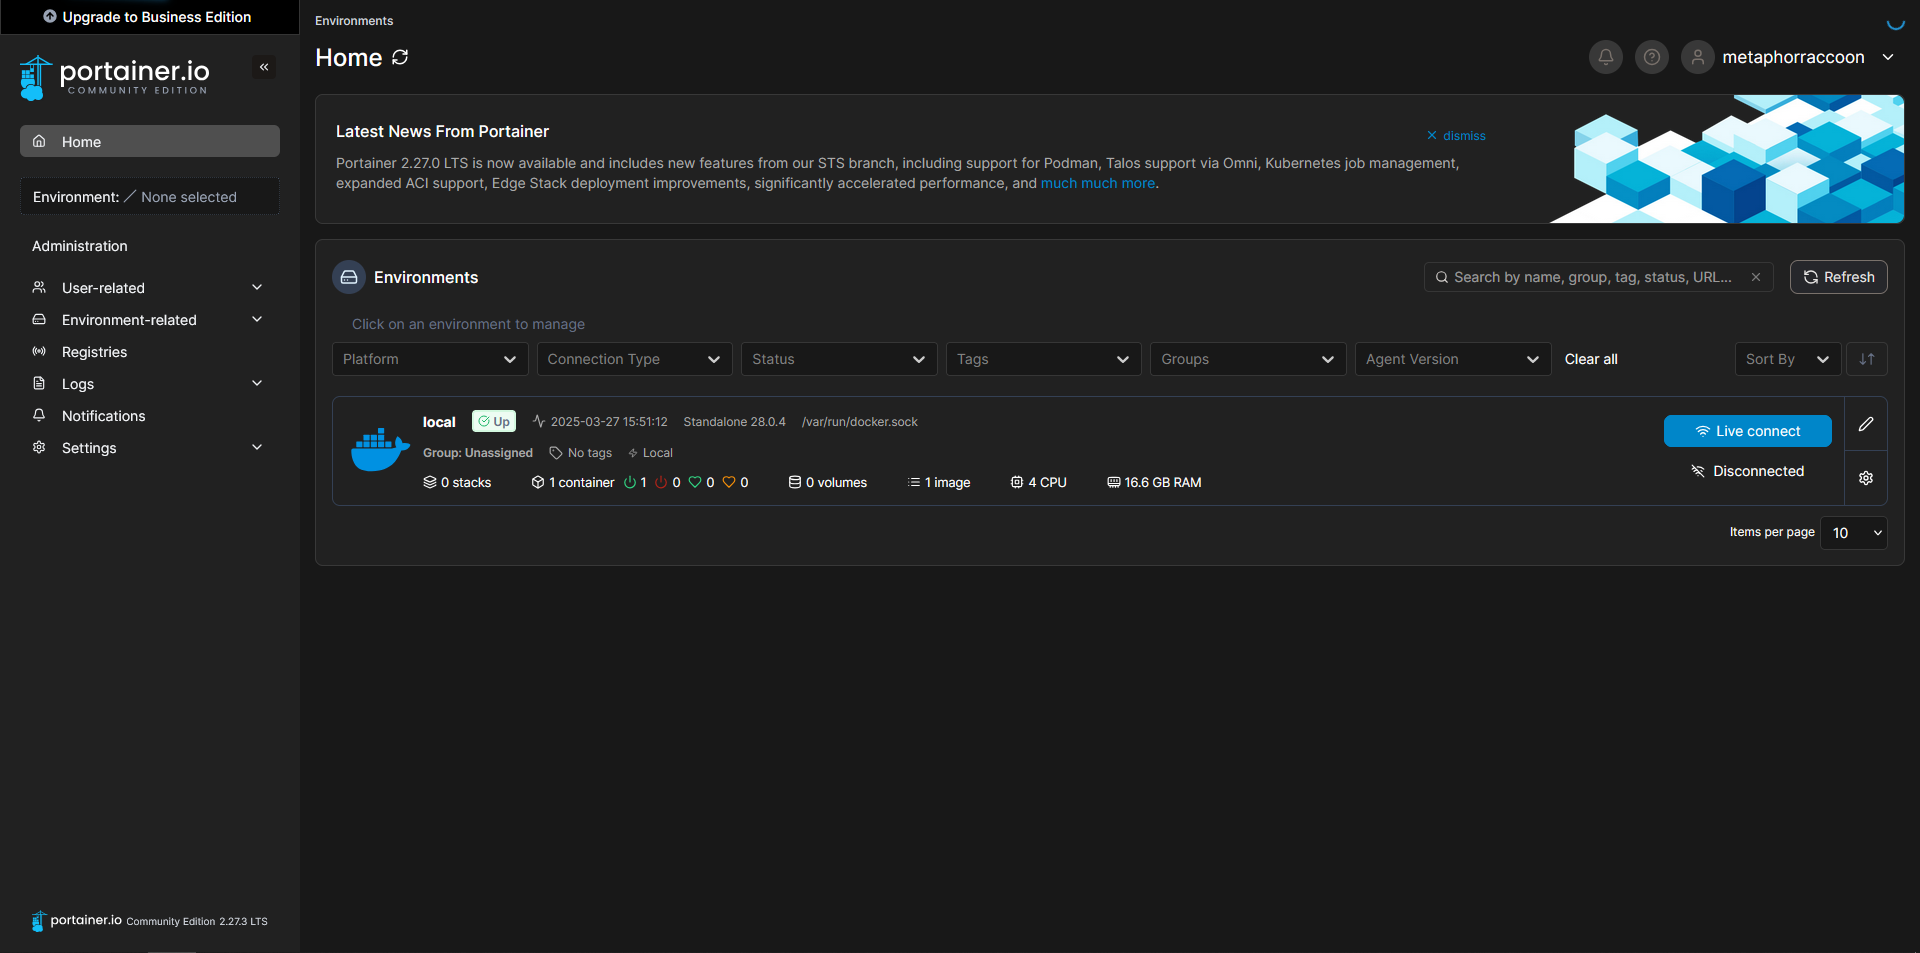
We will be using a simple structured syntax known as Docker Compose to pop-up services from pre-built images.
Part 4: World Wide Web
public
We will configure our local network through our router to prepare for connection. We will use SWAG, a community-driven project to assist everyday people with creating a secure, self-hosted server.
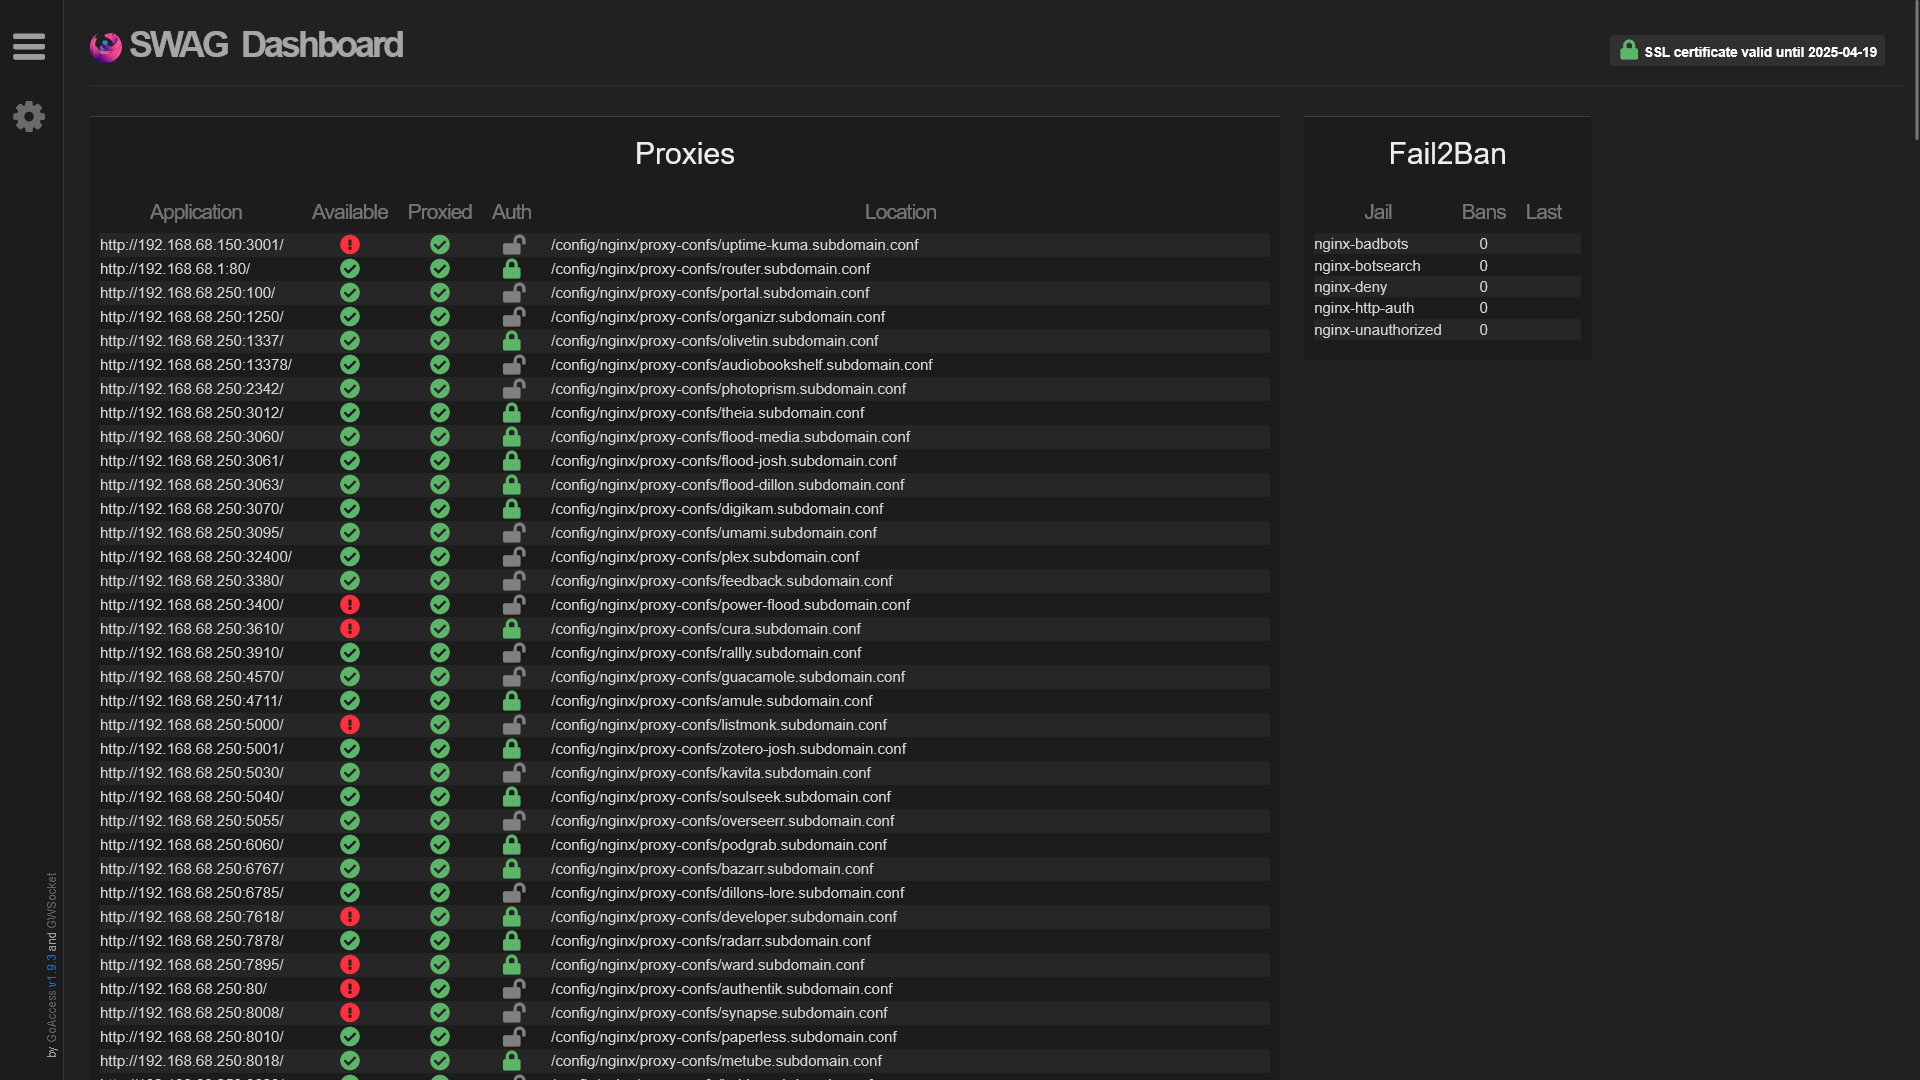
This solution uses a reverse proxy server to route traffic from a domain address to your hosted services. Finally, we will configure your router to connect your server to the internet.