
Networking
We need to set a static IP for our server so that we can always access it from the same address.
Your server should be plugged in directly to the router with a Cat6 Ethernet cable.
Before we do this, we should verify our current internet connection settings and write down some important details for later. We need to know the computer's current local network IP address and the address for our internet gateway.
Collecting Information
First, we need to install a utility that can quickly output this information for us:
sudo apt install -y net-toolsDefault Network Device
Once this completes, we will need to run a command to find out what our default network device is:
ip -o route show | grep default | perl -nle 'if ( /dev\s+(\S+)/ ) {print $1}'This will return the device name about our default network interface which should be our wired connection.
You may want a piece of paper to write down notes.
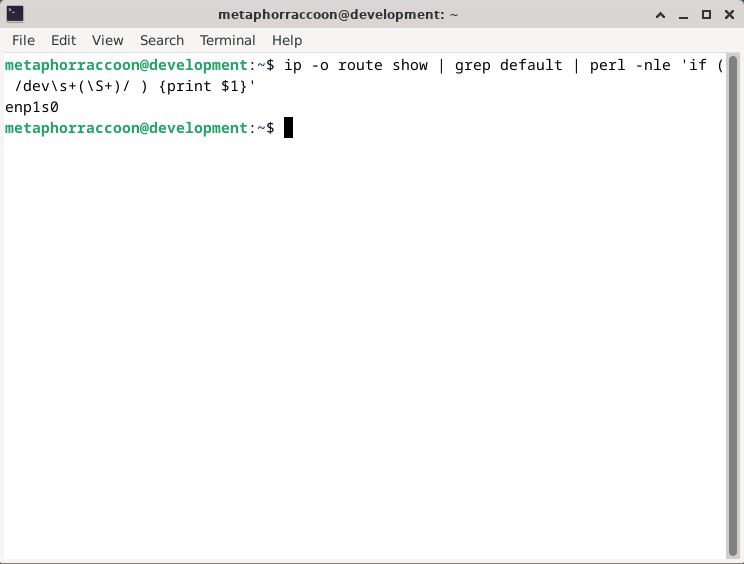
This shows that our default network interface is named enp1s0. Write this down for later.
| Network Device | enp1s0 |
Gateway Address
Next, we will retrieve our network gateway address using a similar command:
ip -o route show | grep default | perl -nle 'if ( /via\s+(\S+)/ ) {print $1}'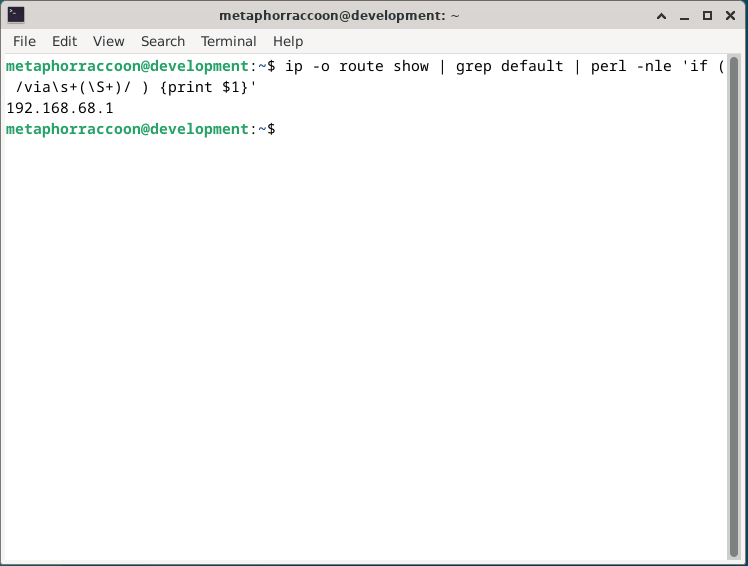
This shows that our current network gateway is '192.168.68.1'. Write this down for later.
| Network Device | enp1s0 |
| Gateway | 192.168.68.1 |
IP Address
Now, we will run a command that can tell us other required information about our current connection. Run the command using the device identifier we retrieved earlier:
sudo ifconfig enp0s1This output provides the rest of the information we need to configure our IP address.
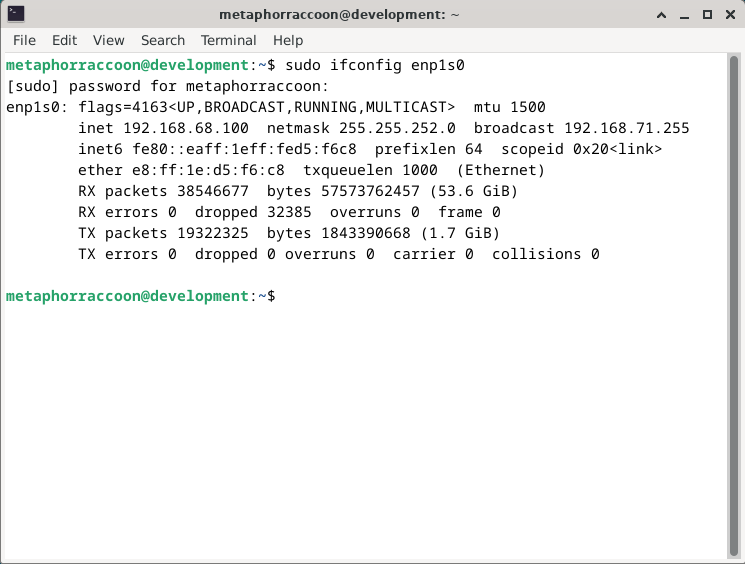
This shows our netmask, as well as our current IP address under 'inet'. We need to write these down for later.
| Network Device | enp1s0 |
| Gateway | 192.168.68.1 |
| IP Address | 192.168.68.100 |
| Netmask | 255.255.252.0 |
When connecting to the World Wide Web, our router acts as a gateway for all other devices on our local network. The Gateway address is the IP address of our router and can be used by other devices to request their own IP address. Most often, this happens automatically through a process called DHCP where an available IP address is automatically assigned. We will be changing this so that our computer always requests the same IP address when connecting to the internet.
Configuring Connection
Now that we have this information, we can return to the terminal. Run the command:
sudo nm-connection-editor This opened the Debian Network Connections Manager as the root administrator account so that we can change the internet settings.
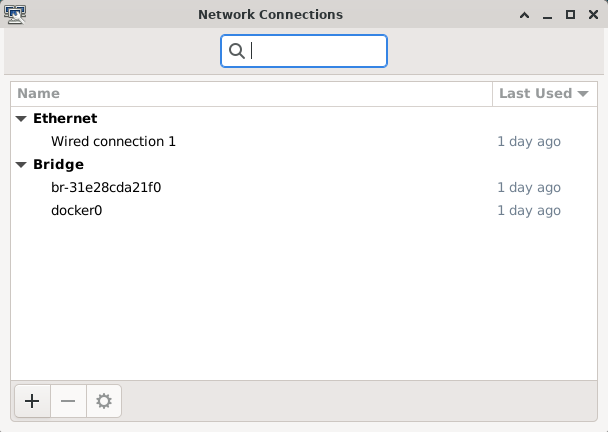
From the Network Connections manager, we can see that we have three network connections. One is an Ethernet connection, which is our direct connection to our router and the outside internet. The other two connections are Bridge connections, which are used by Docker to share internet with containers while controlling their ability to communicate directly with each other.
We will select "Wired connection 1" and the 'gear' icon to edit the settings.
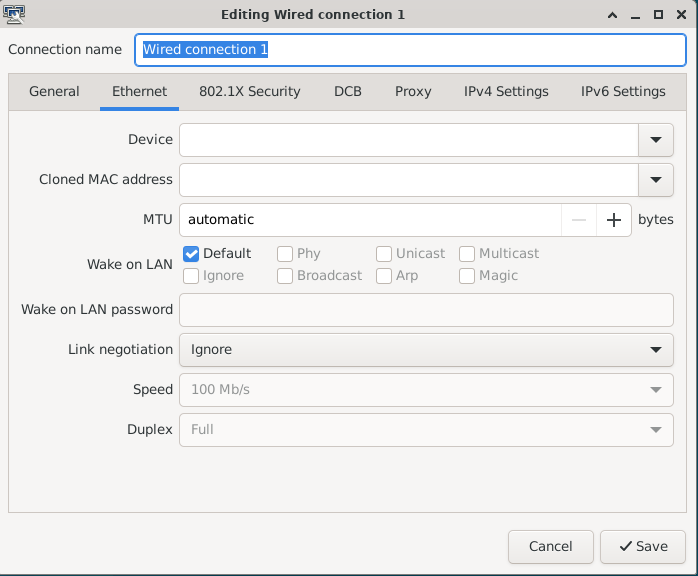
This pulls up all configuration options for our wired internet connection in one place. We will be navigating to the 'IPv4 Settings' tab to manually configure our IP.
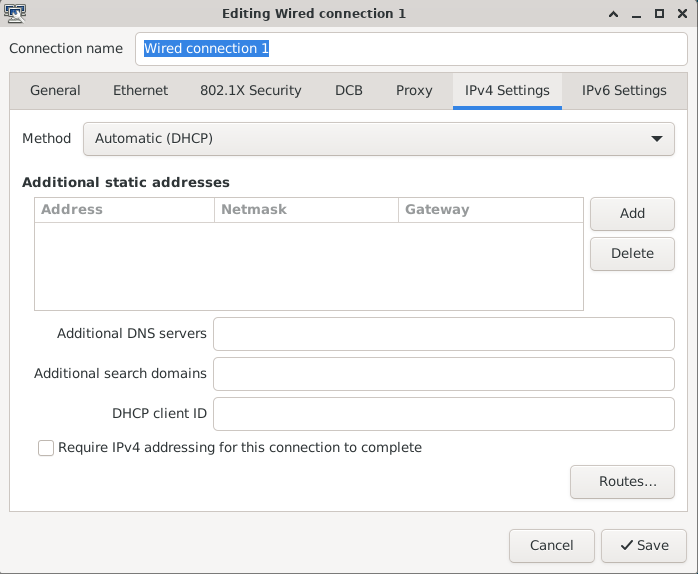
Currently, we are set to automatically get an available IP address from the router through DHCP. We will be changing the Method to 'Manual'. This will allow us to set a static IP address that will stay the same between computer and router power cycles. We will hit the 'Add' button to add a new field we can edit.
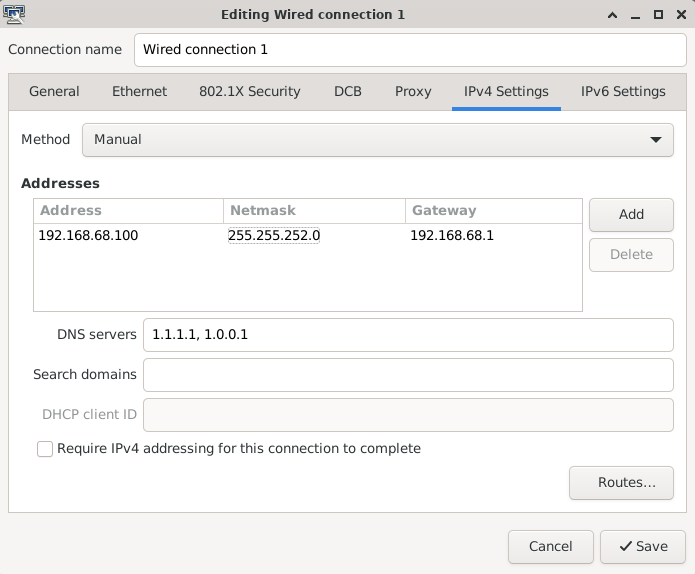
| Network Device | enp1s0 |
| Gateway | 192.168.68.1 |
| IP Address | 192.168.68.100 |
| Netmask | 255.255.252.0 |
| DNS servers | 1.1.1.1, 1.0.0.1 |
Finally, we can enter all of the information we've been collecting. DNS servers are used to translate domain names, like adafruit.com, into their public IP address so we can access their server. We will be using the Cloudflare DNS, but other recommendations include Quad9 or OpenDNS.
Now, we can hit 'Save' to commit the settings.
Reboot the computer to ensure everything is working as intended.
Verify Connection
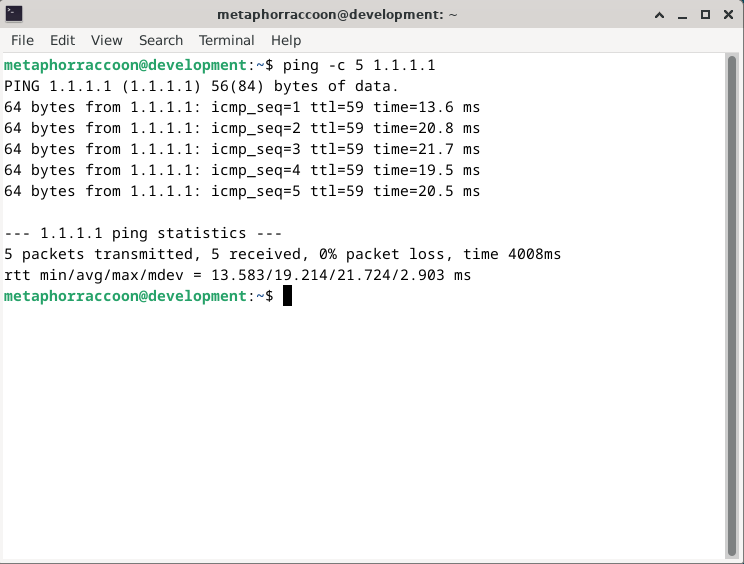
After restarting your computer, open up the terminal. We will now run two commands to ensure the internet is working and we have the correct local IP address.
ping -c 5 1.1.1.1This will ensure that our computer has access to the Cloudflare DNS server. We will consider the test has passed if the command reports '0% packet loss'.
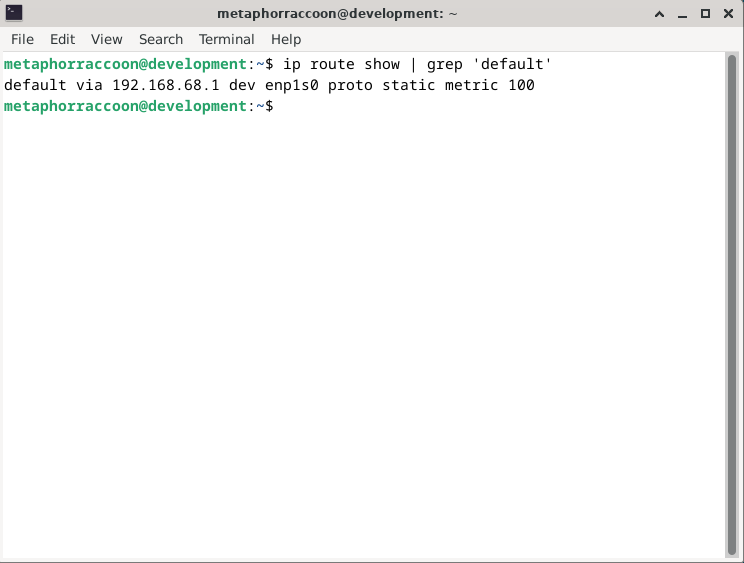
We can now run one final command to verify our computer is using the static IP address we configured:
ip -o route show | grep defaultThis will show an overview our default internet connection and we can see that it is now labeled as a 'static' connection.
You now have a computer with a static IP address that will always stay the same.