Single-Board Computers
Raspberry Pi computers use an SD card that needs to be "flashed" with an operating system. This process writes files to the SD card while it's connected to a Windows, MacOS or Linux machine through a USB connection.
Raspberry Pi Imager
This is the official Raspberry Pi solution for flashing image files to the SD card, which is an integral part of the microcomputer ecosystem. This also allows you to quickly configure Raspberry Pi OS, such as configuring Wi-Fi, changing the computer's host name, and enabling SSH for remote access. By default, Wi-Fi and Bluetooth are enabled.
You can download Raspberry Pi Imager from their website.
First, you will need to install the Raspberry Pi Imager.
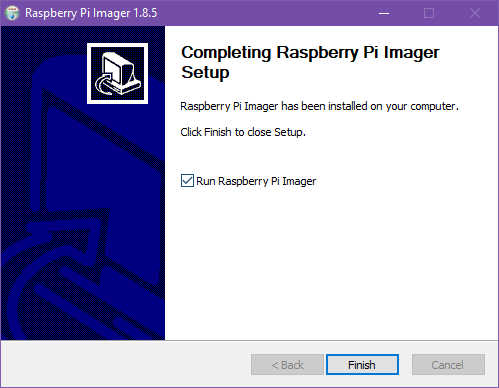
Once the install process is completed, you can open the Raspberry Pi Imager software.
You will be prompted for administrator access to the computer.

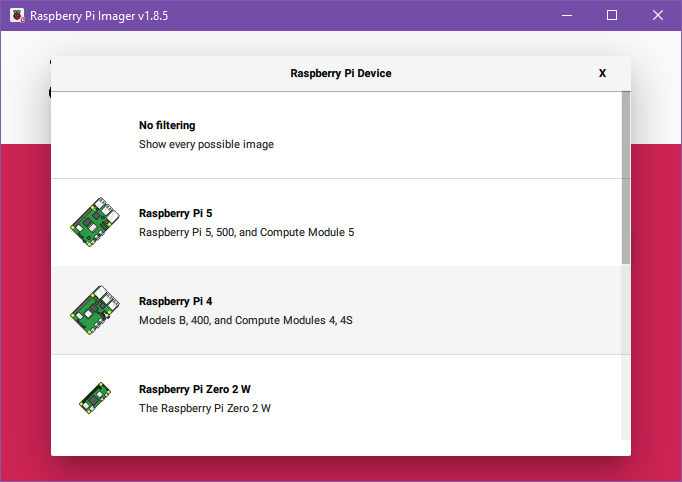
Now we can attach our MicroSD card to the computer using a USB to MicroSD card adapter. Once we have connected the drive, we can click "Choose Device" to model of Raspberry Pi we are using.
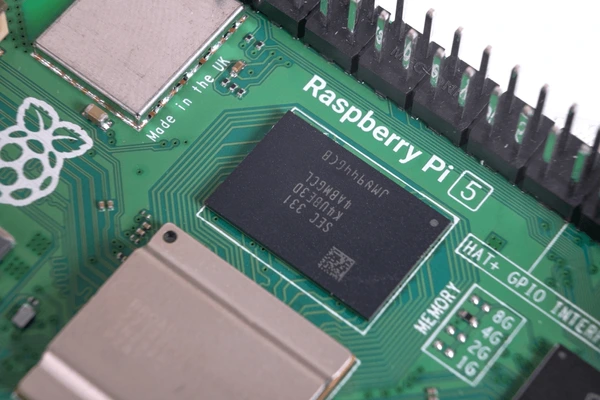
Be sure to select your correct model for best performance. If you are unsure, the model number is printed on the board itself below the GPIO pins.
Raspberry Pi Official installation video
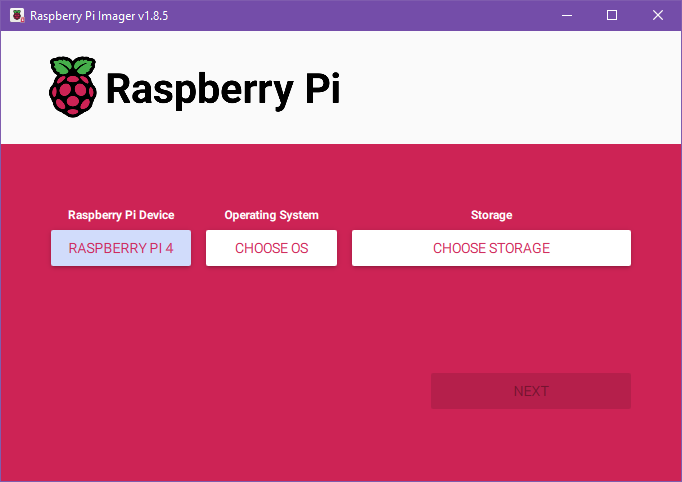
With our model selected, we can move on to selecting our operating system.
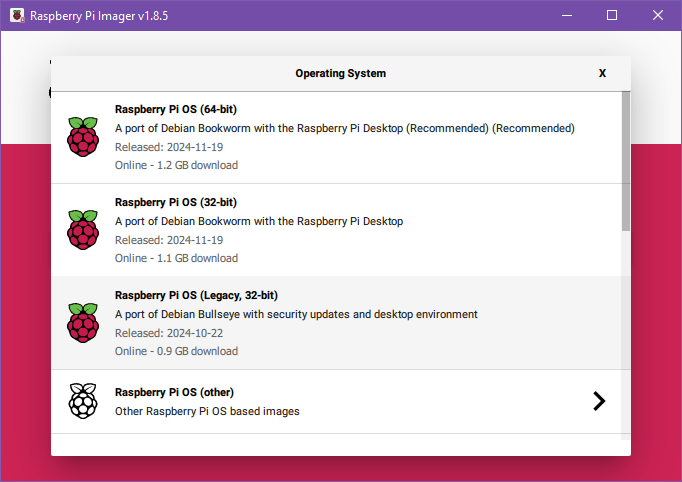
We will be using the recommended Raspberry Pi OS (64-bit). Some services do not work on the Raspberry Pi using a 64-bit operating system and this will require using the 32-bit edition, but this should be avoided if not required.
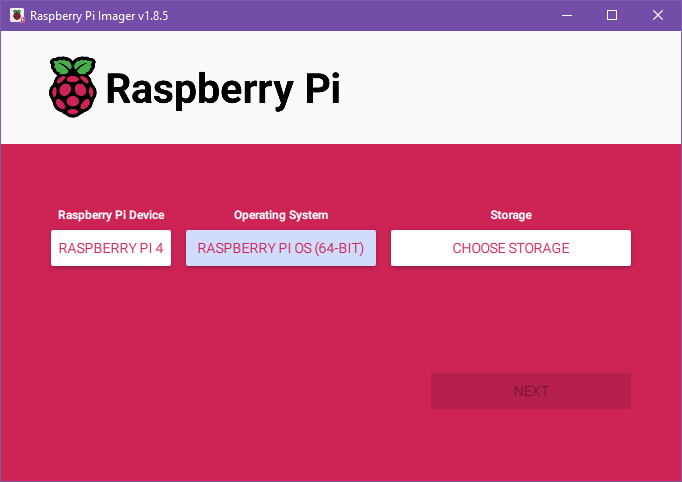
Finally, we can select the storage device we want to install our operating system. This is the USB to MicroSD card adapter we plugged in. The Raspberry Pi Imager will hide system and internal hard drives. We will select our USB drive.
Depending on how your MicroSD card is formatted and how many devices you have plugged in, this screen may look different. Verify that you are selecting the correct drive.
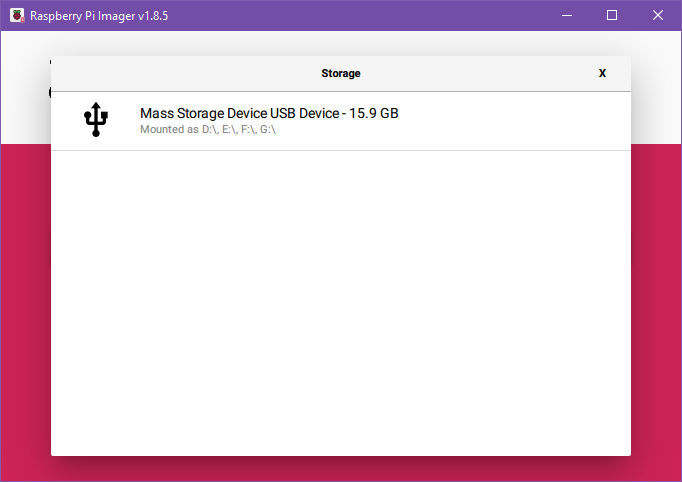
This process will irrevocably erase the data on this SD card. Ensure all important data has been backed up first.
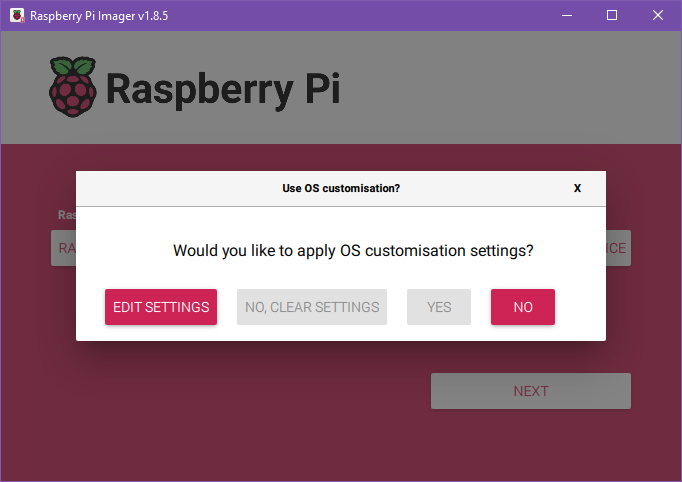
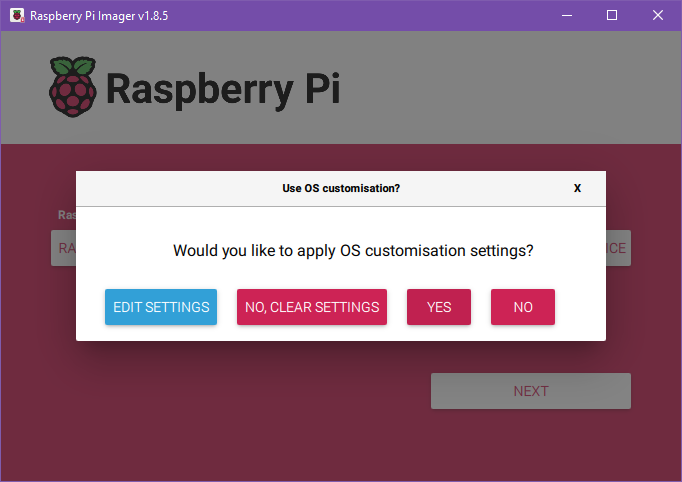
Once our SD card is selected, we can hit "Next" to begin the configuration process. We will be presenting with a pop-up asking us if we want to apply OS customization settings. Select "Edit Settings".
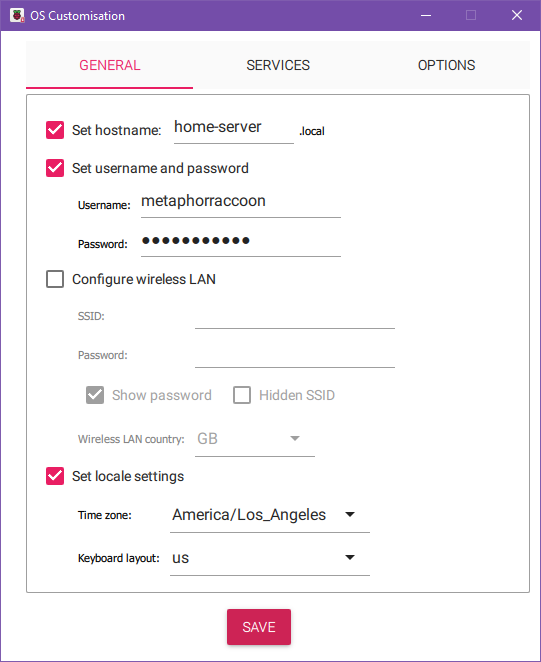
First, we will need to configure general settings. Our "hostname" signifies how our server will report itself to the local network. Next, we will need to set our username and password. We will not be using Wi-Fi for our server, so we can leave this section blank. Optionally, we can also set the time zone and keyboard layout to use.
Under the Services tab, we will be enabling SSH. We can leave this with the default setting to "Use password authentication".
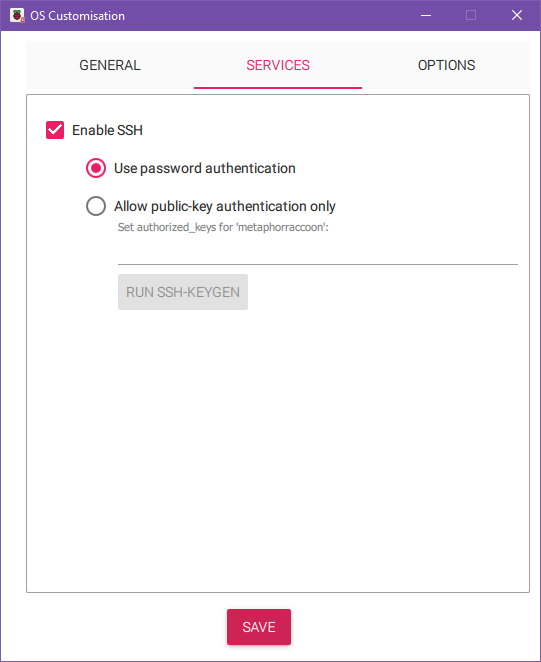
Now, we can hit save to commit these settings. Now, we can hit 'Yes' to proceed with the installation process.
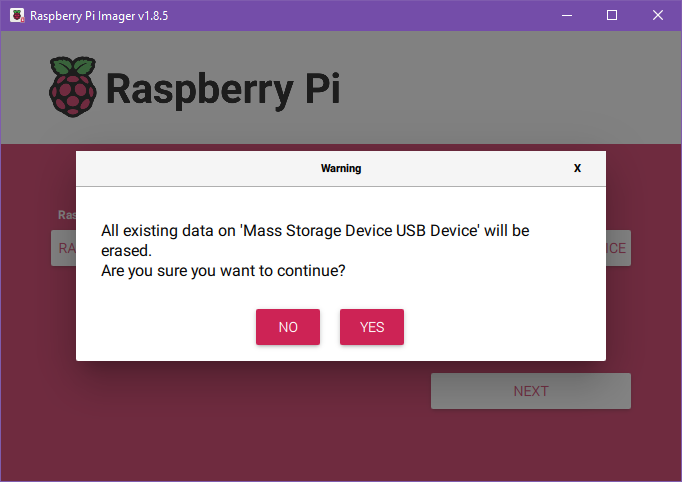
The Raspberry Pi Imager will warn us that all existing data will be erased. If you are sure that this drive can safely be erased, press 'yes' to continue.
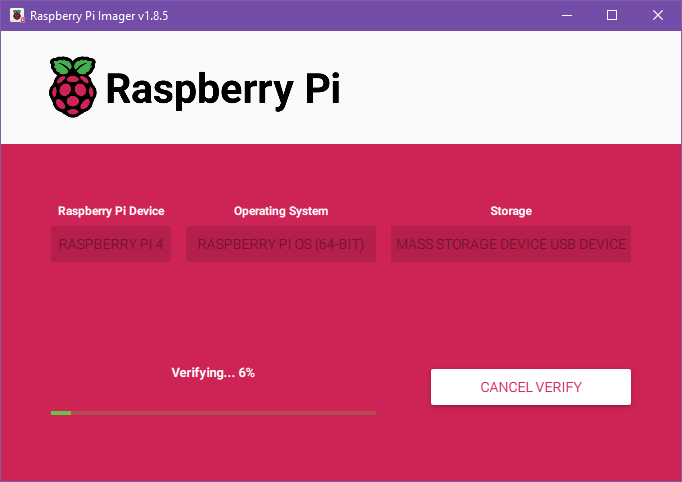
This will begin the installation process where the drive is formatted and the appropriate files are copied to the MicroSD card.

After the files are copied, the Imager will verify that the files were copied correctly and they were not corrupted.
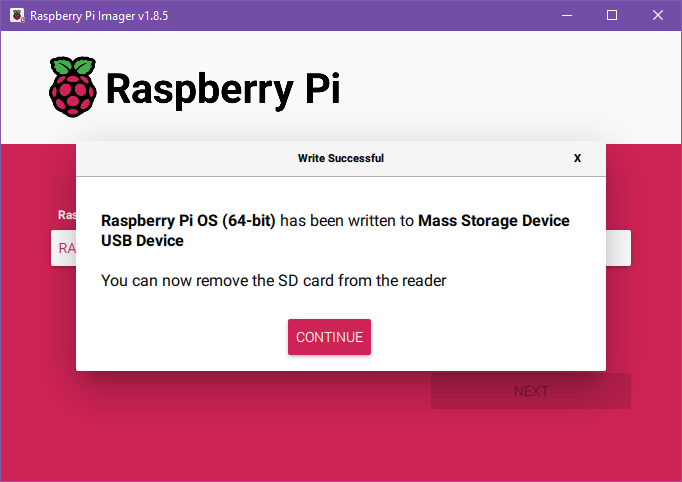
Once it is finished verifying, we will be alerted that we can remove the MicroSD card by disconnecting the USB adapter.
Now, we can put the MicroSD card into the Raspberry Pi and power it on to begin configuring our operating system.